
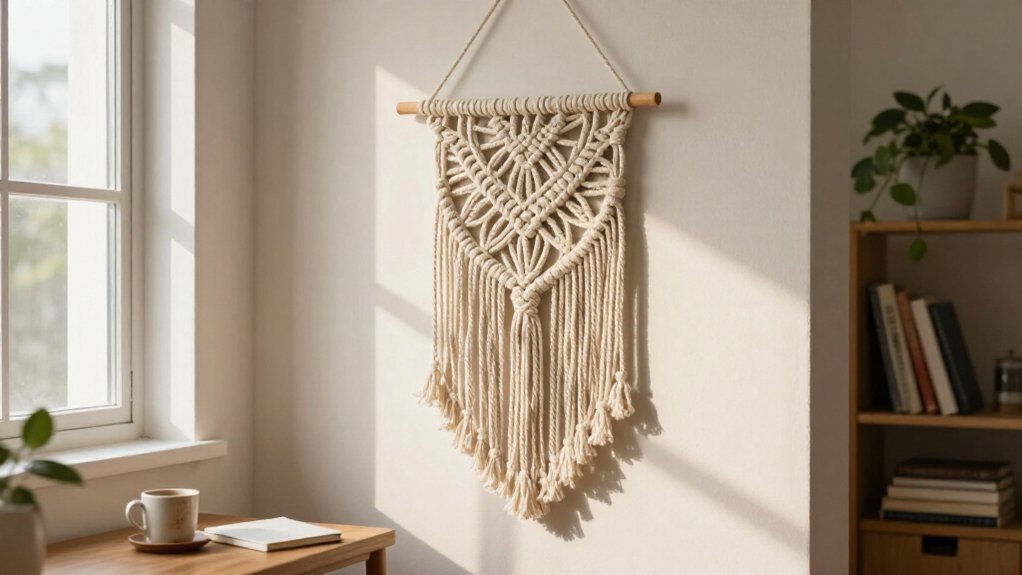
You want fresh wall art without draining your wallet, and you’ve got more options than you realize. For under $10, you can turn everyday materials into pieces that look polished and personal.
Q-tips create crisp dot patterns on cardstock. Bright acrylics and clear tape mimic neon signage without electrical work. Thrifted frames gain cohesion with unified paint colors. Pressed leaves, stenciled graphics, and layered book pages each offer distinct textures.
The real challenge isn’t finding ideas; it’s choosing which project matches your space, your skills, and the weekend ahead.
Paint Polished Q-Tip Dot Art
A few everyday Q-tips can change plain cardstock into interesting wall art without draining your wallet. You’ll create dot art by tracing a smiley or shape on yellow cardstock, then dipping Q-tip ends in black paint to dot along the edges.
For dimensional DIY wall decor, type bold letters and use a Q-tip to paint dots along one edge, mimicking natural light direction with a colored shadow effect. Want vibrant energy? Place rainbow paints on a plate and apply varying-sized dots in a gradient pattern across your paper.
Let painted dots dry completely before framing. Lightly erase pencil lines after drying. This adaptable technique works for shapes, letters, and different lighting angles. You’re building professional-looking artwork with simple tools you already own.
Recommended Products
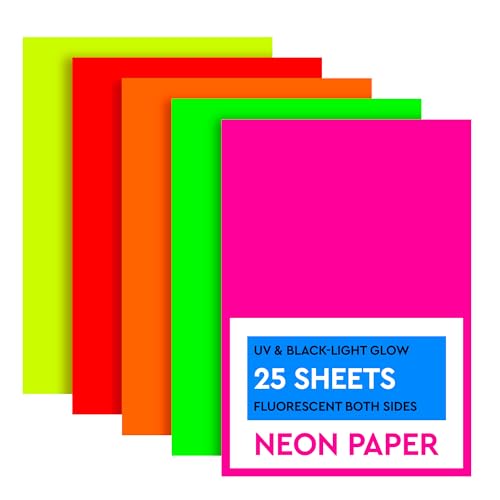
❗UV Reactive Neon❗: Under UV or blacklight, this thick fluorescent paper lights up with vivid neon tones, helping neon construction paper turn party spaces into energetic settings

Glow Party Supplies: You will get 100 pieces glow in the dark papers, Perfect for making a homemade Twister game and black light party dance floor decorations.
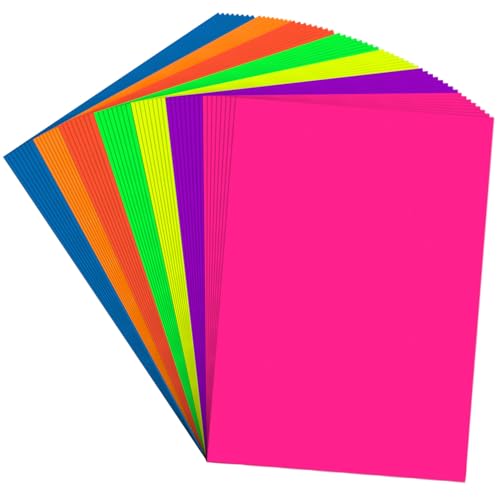
Premium Paper: Made from durable 250 GSM/90 LB heavyweight card stock, ensuring durability and resilience for various crafting and printing needs.
Create Faux Neon Signs Without Wiring
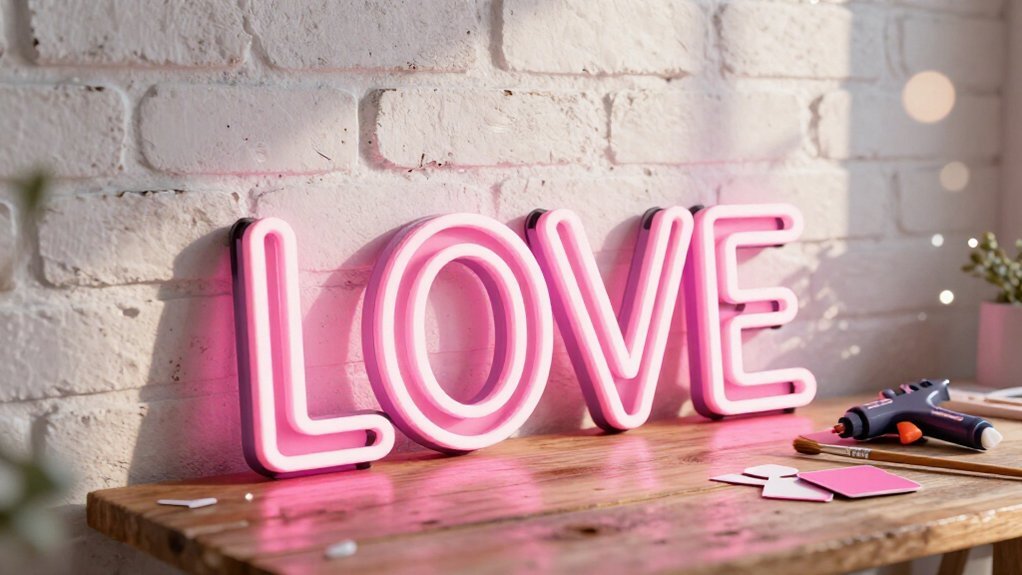
You’ll need just a few affordable supplies to build your faux neon sign: cardstock for printing your design, bright acrylic paint in neon or fluorescent shades, and Q-tips for applying controlled edges. Start by creating your text digitally or tracing a bold phrase, then paint one side of each letter with your vivid color and add a soft shadow below and to the right to fake that electric glow.
Once finished, you can frame your piece, mount it on foam board, or prop it on a shelf for instant, wire-free ambiance.
Recommended Products

【Complete Set of Letter Stencils】The kit includes 26 pcs uppercase letter stencils(3"),The size of the scrabble letters stencil is 5 inch * 5 inch, and the letters is 3.7 inch * 2.4 inch.These templates can create any DIY art project you like.

☆ Complete Set of Scrabble Letters: There are 28 pack stencils in this stencil templates set, 26 pack alphabet letter stencils, 1 heart stencil, and 1 star stencil with unique design. Complete set of scrabble stencils for making scrabble tiles, create a warm, welcoming and fun gallery wall including your own scrabble names. They are designed to serve as reusable stencil templates, which can meet your needs to show personalized and unique creativity at all times.

PAINT YOUR OWN SIGN: The size of the scrabble letters stencil is 4 inch * 4 inch, and the letters is 3 inch * 2 inch. This size is suitable for most wood blocks template, so you can use these plastic letters stencil to make a template for each letter, and then spell it into the unique model you want.
Materials Needed
The right supplies make all the difference when you’re building faux neon signs without touching a single wire. You’ll need poster board as your base; white or yellow cardstock works best for that electric pop. Grab vivid acrylic paints in hot pink, electric blue, or lime green, plus a small brush and Q-tips for outlining edges with precision. The Q-tip trick lets you paint a glowing stroke that mimics real neon tubing.
Want professional results? Print a template first, then trace it onto your poster board. This keeps your neon signs crisp and mistake-free.
You’ll also need basic tape or adhesive strips for mounting. Skip expensive frames; lightweight designs hang easily with minimal hardware. Your total stays under $10, and you’ve got everything for bold, glowing wall art.
Design Process
Once you’ve gathered your supplies, you’re ready to map out your design. Choose bold shapes or lettering that’ll pop on your canvas. You can draw freehand or print computer-generated typography for clean, precise lines. Trace your design lightly with pencil before committing to paint.
Now, pick your “neon” color: hot pink, electric blue, or lime green work beautifully. Here’s the trick: fill one side of each letter or shape with your bright paint, leaving the other side darker or blank. This creates the illusion of light direction without any wiring. Avoid shadow-free edges; they flatten the effect. Instead, that single-color fill suggests glow.
Use inexpensive craft paint and inexpensive brushes. Cardstock works if canvas stretches your budget. You’ll achieve high-contrast, graphic impact that looks professionally lit, all for under $10.
Display Options
Where should your faux neon piece live? You’ve got smart choices for these DIY wall art creations. Mount your finished work directly on the wall with minimal hardware, keeping costs under your $10 budget. Frame it simply for a polished look that improves these wall hangings instantly.
Consider placement carefully. Position your piece where natural or ambient light hits the painted edges, enhancing that glow effect you built with saturated color on one side. The directional lighting trick works best when the painted edge faces right or bottom, creating believable shadows.
For maximum impact, group several faux neon pieces together as coordinated wall hangings. You’ll create an affordable gallery wall without wiring hassles. Remember, these lightweight designs need only basic mounting, so you avoid expensive installation while achieving professional-looking results.
Add Depth With Shadow Lettering
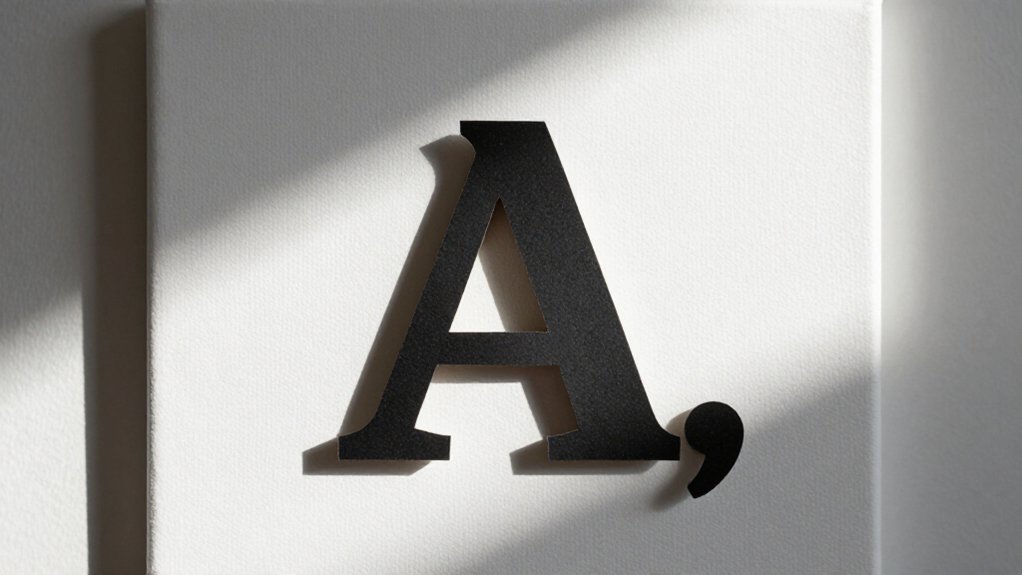
How can you make flat letters look like they’re popping off the wall? You’ll use shadow lettering, a simple technique that tricks the eye into seeing depth on flat wall art.
Start by tracing large bold letters onto your surface. Choose a light source direction, such as below and to the right, and stick with it for consistency.
Dip a Q-tip in paint and carefully follow one edge of each letter to build your shadow. This mimics where light would naturally fall. For precision, print graphic letters from your computer first, then add the painted edge. Select shadow colors wisely: a darker shade of your base color creates clean contrast. Your finished piece gains dimension without expensive materials, proving professional results come from smart technique, not big spending.
Recommended Products

What You Can Get: the package contains 4 pieces of wall decor with a size of about 15.35 x 23.62 inches/ 39 x 60 cm, enough to decorate your walls, and you can also share them with your good friend

【Elegant Botanical Sage Green Subject】This curated set features a collection of delicate eucalyptus leaves and minimalist floral motifs in a soothing sage green palette. These modern watercolor illustrations bring a sense of organic beauty and tranquility to your home, perfect for creating a refreshing and calm environment in any room.

Blend Rainbow Gradient Spots
You’ll begin by choosing five to seven paint colors that flow naturally from red through violet, much like the order you learned in school, squeezing each onto a paper plate for easy access.
Your Q-tip becomes your brush as you press lightly to build small, medium, and large dots.
Cluster them tightly where colors meet and space them wider where you want the eye to rest, which fools the viewer into seeing a smooth fade.
Work one row at a time and let each layer dry completely before adding the next hue, because wet paint blends into muddy brown instead of the clean progression you’re aiming for.
Recommended Products

Elevate Your Vision – Manifest goals with this vision board clip art book that includes collage-style vision board pictures and collage books art cut out that you can trim and layer creatively; build inspiring vision boards with diverse visuals that help you stay motivated and focused on your dreams with this vision board kit for women!
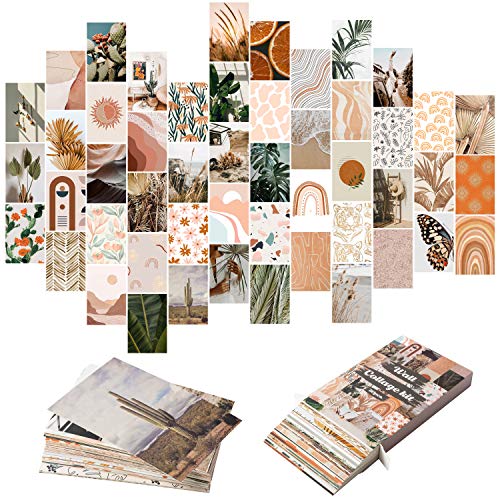
[Package] - You will get 50 satin finish prints (4*6inch) with different patterns and 1 protective box. Please note that this set does not have sticky back. Huge pack for a great dorm room decor for girls and boys.

Color Selection Tips
Why settle for flat, single-color wall art when you can create something that flows and catches the eye? You’ll want to start with a rainbow color palette for this wall hanging. Squeeze small amounts of each hue onto a paper plate so you can work smoothly from one color to the next.
Position lighter colors where you want your gradient to begin, then transition gradually rather than jumping between shades. This creates that smooth fade you’re after. Vary your spot sizes and spacing to mimic how colors blend in nature.
These DIY art ideas work best when you plan your color sequence before you start. Once finished, frame your rainbow spots print with coordinating wall decor to emphasize that beautiful color flow throughout your space.
Dot Application Technique
Now that you’ve mapped out your colors, it’s time to put paint to paper. For this DIY wall art, squeeze small amounts of each rainbow shade onto a paper plate. Keep colors separate so your transitions stay clean.
Dip a Q-tip into one color and press it to your canvas to create spots. You’ll want to vary sizes for visual interest. Work from one color to the next, fading gradually to form a smooth dot gradient. Space your spots evenly across the surface to maintain a cohesive rainbow spread.
Patience matters here. Let your finished print dry completely before handling or framing. This technique delivers professional-looking results on a budget. With practice, your dotted transitions will improve. You’ve got this. Your walls will thank you.
Turn Thrift Frames Into Custom Displays
A thrifted frame holds more potential than its dusty glass suggests. You’re looking at thrift frames as your canvas for upcycling, turning forgotten pieces into custom displays that reflect your style. Start by removing old artwork, cleaning thoroughly, and selecting a fresh direction: Mondrian-inspired geometry, Mid-Century Modern simplicity, or layered collage arrangements.
Behind every dusty frame lies a canvas waiting for your story to emerge.
Consider these emotional rewards of frame upcycling:
- The satisfaction of rescuing discarded beauty and giving it purpose
- Pride in creating gallery-worthy displays without gallery prices
- Comfort knowing your walls tell stories only you can share
Pair your revitalized frames with affordable prints from IKEA, floating frames from Michaels, or handmade pieces. Group coordinated sets for impact. Rotate artwork freely; your investment stays under $10 per piece while your options stay limitless.
Recommended Products
Premium Paper: Made from durable 250 GSM/90 LB heavyweight card stock, ensuring durability and resilience for various crafting and printing needs.

Use this eye-catching neon cardstock 8.5" x 11" to make your flyers, crafts, and school projects pop. Sturdy with a solid dyed core for cutting, folding, and tearing without white edges

Acid and Lignin free - Contains 50 sheets in 4 assorted colors: yellow cardstock, orange cardstock, green cardstock and purple cardstock - Use thick cardstock such as this as card paper to create colored notecards, colored cards
Mount Fabric and Wallpaper Scraps
Fabric and wallpaper scraps become striking wall art when you mount them with purpose. You’re upcycling materials that would otherwise gather dust, and the results look professional without the price tag.
Start by sorting your scraps by color or pattern. You’ll apply spray adhesive or Mod Podge, a common craft glue that seals and bonds, to attach pieces onto canvas or foam board. Press firmly for a flat, durable finish that won’t bubble over time.
Try mixing patterns with solids to build a collaged grid or frame effect. Geometric arrangements create bold visual impact even from small remnants.
Once dry, seal everything with clear matte spray. This protects against dust and fading, so your artwork stays vibrant longer. You’ll spend under $10 using DIY frames or clip mounting systems, and you’ll feel good about giving forgotten materials new life.
Recommended Products

☆ Complete Set of Scrabble Letters: There are 28 pack stencils in this stencil templates set, 26 pack alphabet letter stencils, 1 heart stencil, and 1 star stencil with unique design. Complete set of scrabble stencils for making scrabble tiles, create a warm, welcoming and fun gallery wall including your own scrabble names. They are designed to serve as reusable stencil templates, which can meet your needs to show personalized and unique creativity at all times.

Large Cloud Stencil: You will get 3 pieces PET painting stencil of cloud theme. The patterns are 3 big clouds in different shapes and size, you can freely combine those clouds to draw a cloudy sky in you like color, perfect for room decoration.

☆ COMPLETE SET OF LETTER STENCILS: There are 42 pack stencils in this stencil templates set, 26 uppercase letters, 10 numbers, and 6 most common signs. Complete set of letter and number stencils for wood signs, chalkboard signs, scrabble tiles, wall art decorations, etc. They are designed to serve as reusable stencil templates, which can meet your needs to show your personalized and unique creativity at all times.
Transform Nature Finds Into Minimalist Art
Why let fallen leaves and dried flowers go to waste when you can turn them into gallery-worthy pieces? You’ll create simple, striking art by collecting nature finds like leaves, twigs, or pressed flowers and arranging them on white cardstock or plain frames.
Keep your palette restrained. Use single colors or monochrome tones to highlight clean lines and negative space. Mount your pressed flowers with light adhesive or double-sided tape, keeping edges flush for that neat, uncluttered look under $10.
This approach offers real emotional rewards. You preserve fleeting beauty from your own neighborhood. You build a calm, intentional space that slows your mind. You create something no store could replicate.
Pair natural textures with small, plain monograms for a modern feel. Finish with clear glass or acrylic to protect your work while maintaining that simple, nature-inspired vibe.
Recommended Products
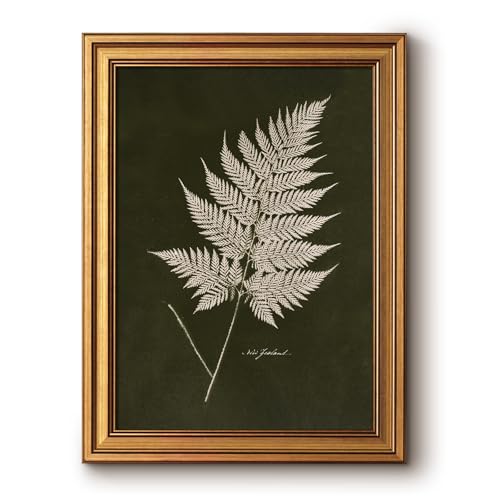
Vintage Fern Illustration: A finely detailed fern branch stands against a deep olive green background, creating a simple botanical composition with antique natural history character

Framed Minimalist Botanical Wall Art: This framed wall art captures the organic beauty of a vintage botanical study, featuring a lush green leaf branch against a textured, linen-like background. The muted, earthy green tones and delicate brushstrokes evoke a sense of calm and natural elegance, perfect for modern farmhouse, bohemian, or traditional decor lovers

VINTAGE FRAMED WALL PICTURES: Immerse yourself in the captivating beauty of a timeless still life composition, featuring meticulously painted oak acorn that exude natural grace and allure. This exquisite artwork brings the essence of a traditional floral arrangement into your home, adding a touch of refinement to any room. Adorned with a lavish gold frame, our Roses Still Life painting exudes opulence and sophistication, adding a luxurious touch to your walls.
Stencil Bold Graphics With Basic Supplies
How easily can you recreate Andy Warhol’s iconic pop art look without expensive equipment? You’ll achieve this DIY effect using simple stencils and stamps with everyday craft supplies. Grab black paint or a marker to build strong, high-contrast shapes and letters on a light background. This creates that stencil-bold impact you’re after.
Want depth? Pair your stencil shapes with a single-color shadow. Carefully trace one edge of each letter to suggest dimension without complexity. Place your finished graphics on white or light cardstock; this maximizes visual punch and keeps attention on your bold design.
You’ll stay under $10 using inexpensive paints, paper, and reusable stencils. Upcycle thrifted frames for display. The result feels polished, professional, and unmistakably yours.
Recommended Products

Artivo Boho Wall Collage Kit Aesthetic Pictures - Our boho collage kit comes with 50 aesthetic pictures measuring 4x6 inches, a beatiful keepsake box, and 10 vinyl waterproof stickers.
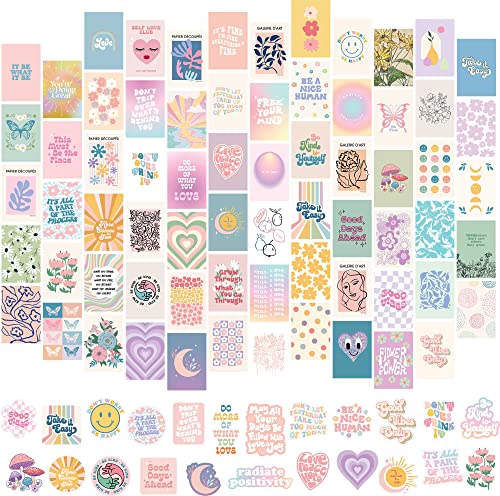
DANISH PASTEL AESTHETIC WALL COLLAGE KIT - Set of 70 pictures, 4x6 inch, printed on cardstock

Start With What You Already Have
Before you buy a single supply, look around your home for hidden assets. You’ll likely find cardstock, old frames, and basic tools like pencils and rulers that can launch your first project at zero cost.
Recommended Products
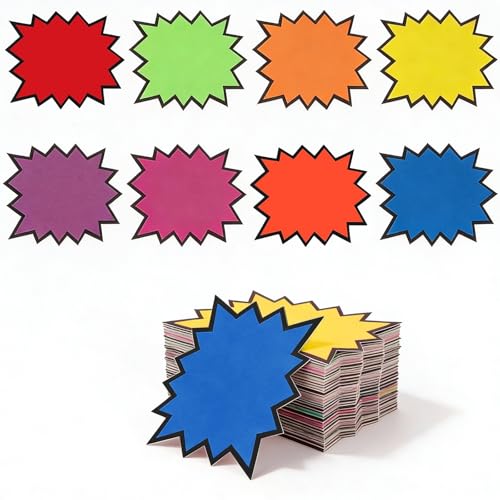
Vivid Starburst Design: These neon starburst signs use a bold burst shape and fluorescent color look to help written messages be noticed on store windows, poster boards, counters, doors, booths, and display areas.
Premium Paper: Made from durable 250 GSM/90 LB heavyweight card stock, ensuring durability and resilience for various crafting and printing needs.

Acid free paper:Our paper is solid, strong, and close to neutral. Protect materials in contact with paper from acid corrosion. Permanent paper can be stored for at least a very long time without obvious deterioration, making it suitable for collecting books and precious documents
Repurpose Existing Materials
Where should you begin when your budget is tight? You start with what you already own. Grab that white cardstock or those forgotten frames, then build fresh designs around them. You minimize new purchases while maximizing creative impact.
You repurpose fabric scraps, old doilies, or thrift-store frames by mounting them in minimal overhead frames. These become instant wall art without draining your wallet. You also reuse monogram stickers or reposition existing art elements to craft new framed pieces. No new supplies needed.
Layer inexpensive techniques like dot patterns or shadowed typography over current surfaces. You turn plain pieces into cohesive statements. Combine found materials, book pages, wallpaper samples, or thrift-store frames for gallery-style results under $10 each.
- Feel the satisfaction of creating beauty from forgotten objects
- Trust your instincts as you give worn materials new life
- Experience comfort knowing quality art doesn’t require empty pockets
Rearrange Current Decor
Why spend money when your walls already hold everything you need? You can rearrange existing prints, photos, and artwork to create a fresh gallery wall without buying a single new piece.
Start by gathering what you already own. Group items in odd numbers, like three or five, and vary their heights to build a cohesive, organized display. Mix textures you have on hand: frames, canvases, doilies, or fabric pieces. This layering adds depth while keeping costs at zero.
Before you commit, use removable washi tape or adhesive strips to test your layout. This prevents unnecessary holes and lets you experiment freely.
Consider rotating a few items seasonally to refresh your space periodically. You’ll achieve a professional look with minimal effort and maximum satisfaction.
Refresh With Paint
How can you turn forgotten supplies into memorable wall pieces without overspending? Start with what you already own and let paint give old materials fresh purpose for meaningful wall art.
- Feel the satisfaction of watching dried watercolors bloom into soft, translucent layers on cardstock you rescued from a drawer
- Experience quiet pride as Q-tip dots form perfect shapes without costly brushes or tedious cleanup
- Find joy in seeing forgotten scraps become intentional centerpieces that tell your story
Dip the cotton tip in paint and dab along traced lines for quick results. Layer a lighter shade over dry base colors so underlying hues peek through, adding depth without complexity. Reuse old posters or pages as color blocks. Once dry, erase pencil marks and frame your creation for under $10.
Hang Your Gallery Wall Like a Designer
What turns a cluster of frames into a gallery wall that looks professionally arranged? Start with thrifted frames. You’ll save money and gain character that new frames can’t replicate. Scout secondhand shops for mismatched wood, metal, or ornate styles, then unify them with spray paint in one color family.
Next, plan your layout on the floor first. Arrange pieces in an open, asymmetrical formation or a tight grid, whichever suits your space. Align outer edges and keep spacing consistent, two to three inches between frames, for visual rhythm.
Mix your media to add depth. Combine painted canvases, photographs, fabric swatches, and paper art. This variety creates the layered, collected-over-time look designers charge thousands to achieve.
Finally, mount everything securely. Use picture hooks rated for your frame weights. Step back, adjust until it feels balanced, and enjoy your display.
Recommended Products

Measures approximately 11"x6"

【Wood Pieces 5 Inch with 26 Letters Stencils】DIY journey with this premium wood letters for crafts kit includes 36 unfinished wood tiles for crafts 5x5 inch (12.7x12.7cm) wood squares 3mm 1/8 inch and 26 x reusable large letter stencils + 4 x snowflake template (approx. 12.5cm), this ample wooden letters for crafts set provides everything you need to complete stunning projects and effortlessly achieve the popular chic look in your home.
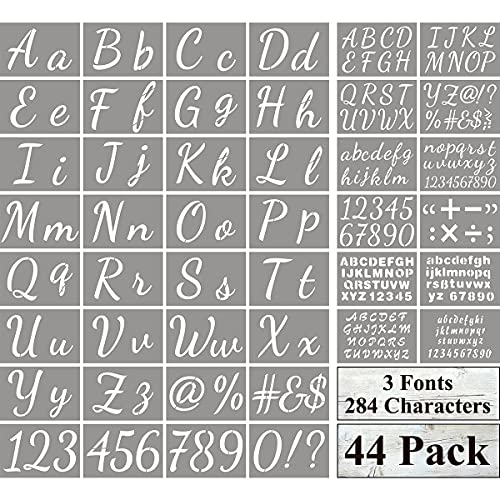
★ LARGE LETTER STENCILS: 44 pack large letter stencils for painting on wood, over 284 designs, 4 complete set of alphabets, includes uppercase letters, lowercase letters, numbers, and most common signs in 3 sizes. Three sizes to meet your needs for different objects. Size: stencil 8"x 5", uppercase letter and lowercase letter: large alphabet about 4" height and 2" height; medium alphabet about 2" height and 1" height; two small alphabets about 0.8" height and 0.6" height.