Every woman deserves to feel fabulous, no matter her age, and mastering the art of contouring is a powerful tool in achieving that radiant look. This step-by-step guide unravels the secrets of contouring techniques specifically for mature skin, helping to enhance your natural beauty. Understanding how to contour the face can not only add a youthful glow but also accentuate your features in the most flattering way.
With the right makeup application guide and beauty tutorials, you can embrace your gorgeous self while learning essential highlighting and shading tips that can turn back the clock. Ready to dive into these face sculpting tips? Let’s transform your makeup routine into a masterpiece!
1. Understanding Your Face Shape
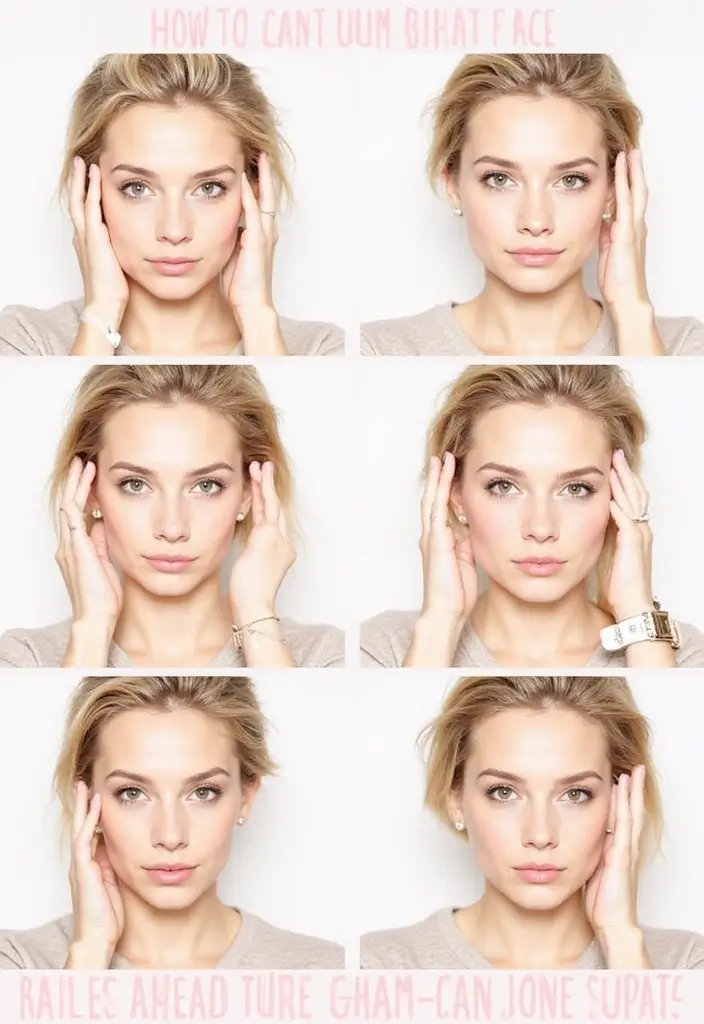
Before diving into contouring, it’s crucial to understand your unique face shape. Whether you have a round, oval, square, or heart-shaped face, each has specific contouring techniques that work best. For instance, those with a round face may want to focus on elongating their features, while someone with a square face might soften their jawline.
Here’s how to identify your face shape:
– Look at the width of your forehead in relation to the jawline.
– Notice the length of your face versus the width.
– Check the shape of your chin.
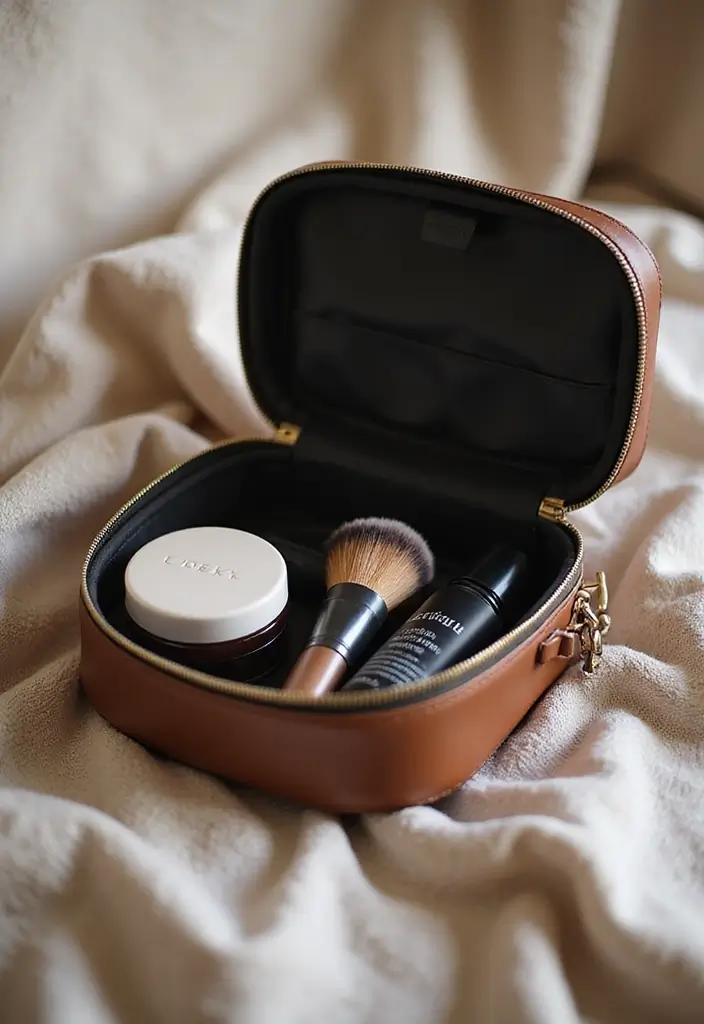
Once you’ve identified your shape, you can choose the right contouring techniques that flatter your features. A great product to help with this is the contouring makeup kit. This set comes with a variety of cream contour sticks designed for beginners, allowing you to easily highlight and contour based on your specific shape.
To apply these products effectively, having the right tools is essential. The makeup brushes set offers 18 premium synthetic brushes that are perfect for blending and achieving a flawless finish. The right brushes can make all the difference in how well the contour adheres and blends into your skin.
Additionally, if you’re still unsure about your face shape, the face shape guide chart can provide a visual reference to help you understand your features better. This chart makes it easier to identify your shape and select the most flattering contouring techniques.
This tailored approach lays a solid foundation for a flawless look. Understanding your face shape is the secret to contouring success! Tailor your techniques to highlight your unique features, and watch your beauty shine with every brush stroke.


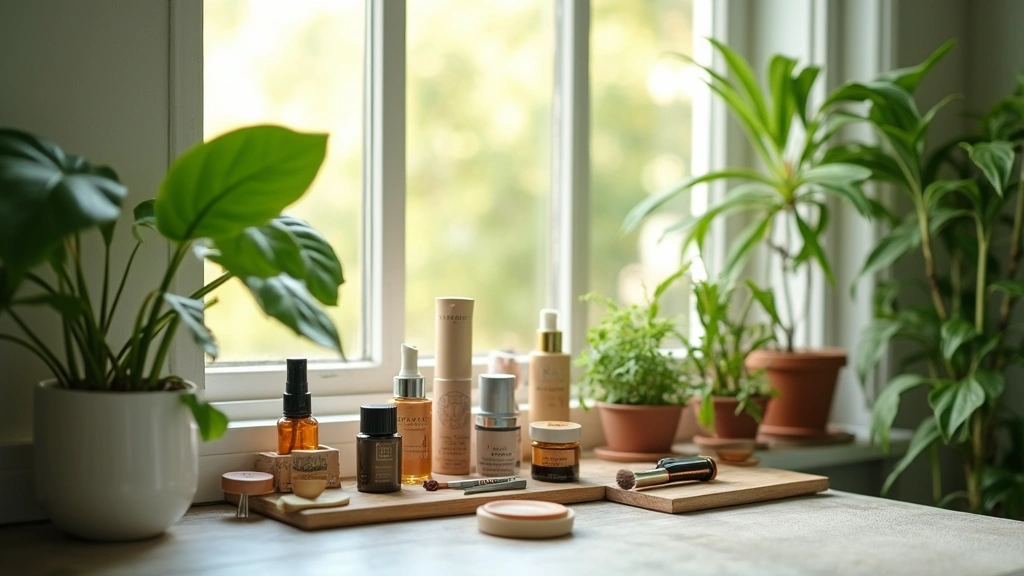
2. Choosing the Right Products
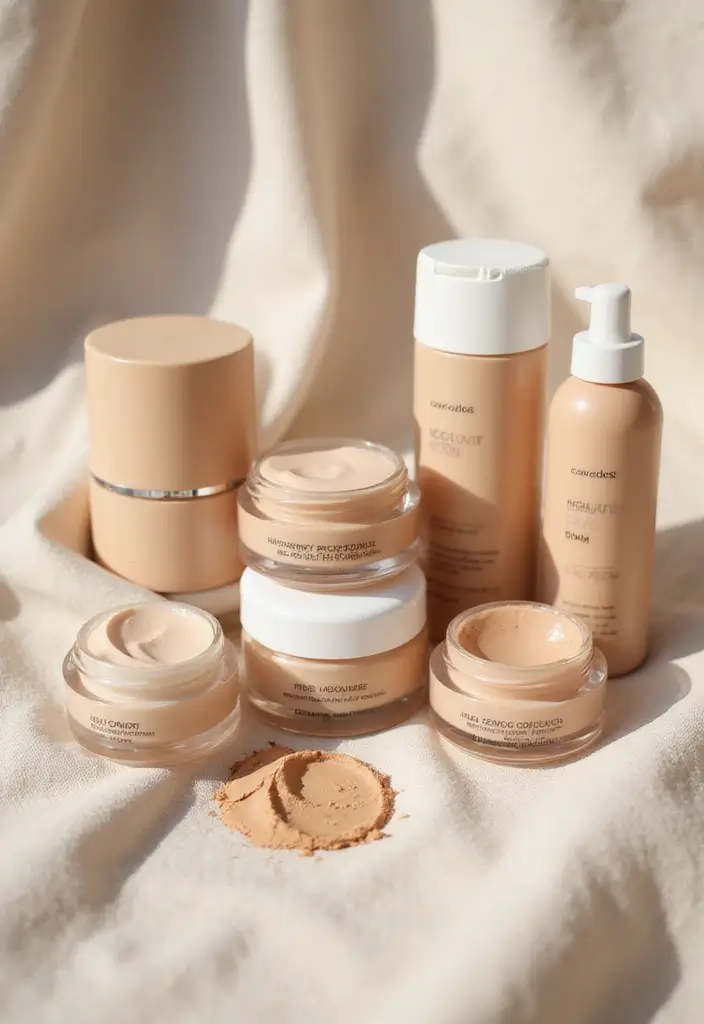
Selecting the right contouring products is essential for mature skin, as certain formulations can emphasize texture or fine lines. Cream contours are often more forgiving and blend beautifully into the skin, providing a natural finish. For instance, the SHEGLAM Snatch ‘n’ Define Cream Contour Stick is a fantastic choice. Its long-lasting and highly pigmented formula allows for seamless blending, creating dimension without settling into any fine lines.
For highlighting, opt for liquid or cream highlighters rather than powders, as they tend to sit better on the skin and provide a youthful glow. A great option is the Sharpie Liquid Highlighter, which offers a lit-from-within shine that enhances your features beautifully.
Here’s a quick guide to keep in mind:
– Cream contours: Perfect for blending and creating dimension, like the SHEGLAM stick.
– Liquid highlighters: Great for that radiant glow, as seen with the Sharpie option.
Avoid heavy powders that can settle into fine lines. With the right products, you set the stage for a stunning contour that enhances rather than detracts from your beauty.


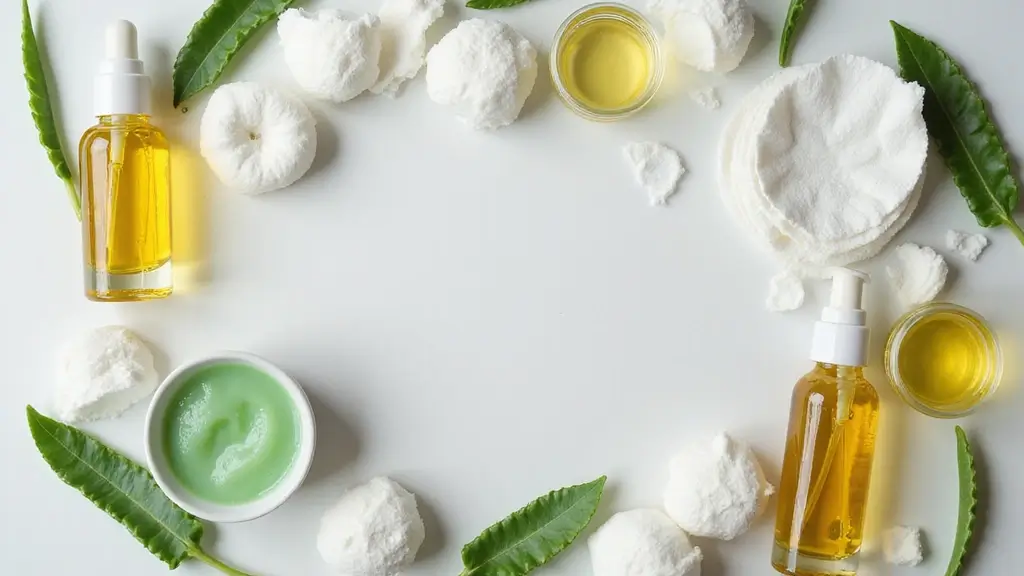
3. Prepping Your Skin
Preparation is key to achieving a seamless contour. Start by cleansing and moisturizing your face to create an even canvas. For a gentle yet effective cleanse, consider using the La Roche-Posay Toleriane Hydrating Gentle Face Cleanser. This hydrating facial cleanser contains niacinamide and ceramides, making it perfect for dry to normal skin while being sensitive skin tested. It cleanses without stripping essential moisture, ensuring your skin is prepped without irritation.
Next, apply a moisturizer suited to your skin type. The La Roche-Posay Toleriane Double Repair Face Moisturizer is an excellent choice, as it provides immediate comfort and long-lasting hydration. Infused with ceramide and niacinamide, it helps maintain your skin’s moisture barrier, creating a plump and hydrated base for makeup.
After your moisturizer has fully absorbed, it’s time to apply a primer. A great option is the L’Oreal Paris Age Perfect Face Blurring Primer, which smooths out liners and pores while adding hydration. This blurring primer focuses on areas that may need extra smoothing, ensuring your complexion appears flawless.
This prepping step not only helps your makeup adhere better but also keeps it looking fresh throughout the day. With these products, you’re setting yourself up for a beautifully sculpted look!


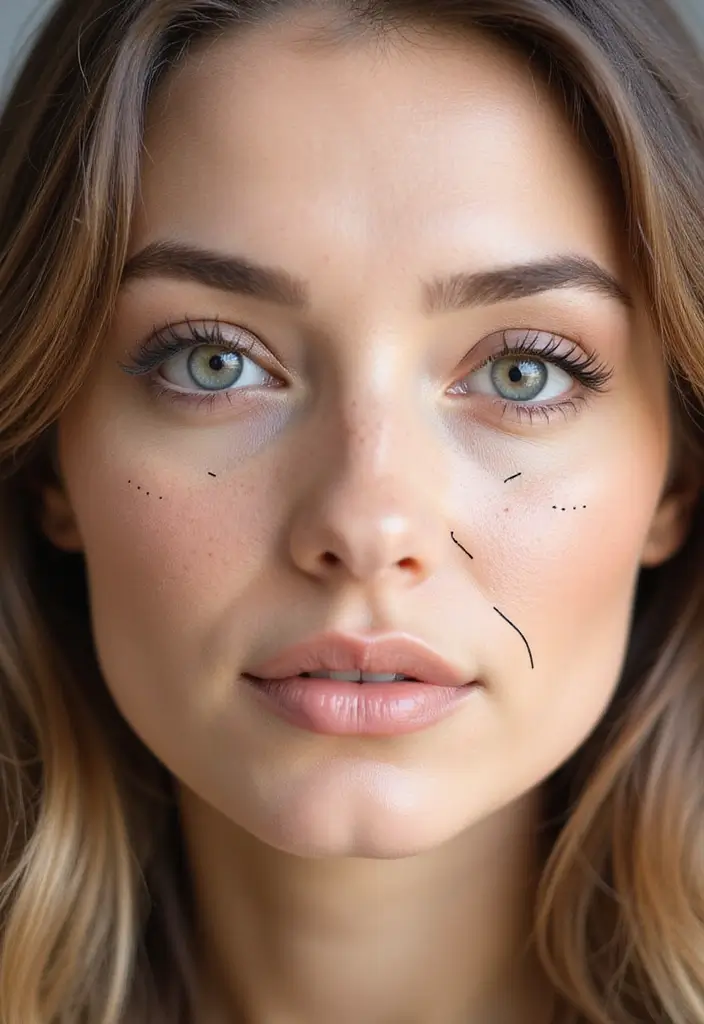
4. The Art of Contouring: Basic Techniques
Now that your canvas is prepped, it’s time to contour! The basic technique involves using darker shades to create shadows and lighter shades to highlight. For mature skin, apply contour to the hollows of your cheeks, along the jawline, and at the temples. Use a light hand to ensure a soft, blended look.
Here are some essential techniques to master:
– Use an angled contour brush for precise application. Its shape allows you to easily create the definition you want without harsh lines.
– Blend well with a damp makeup sponge for a seamless finish. The sponge’s texture helps to soften the contour, making it look more natural on the skin.
– Remember, less is more; start with light layers and build up as needed. Using a contour and highlight palette can help you choose the right shades that enhance your features beautifully.
By understanding the basic contours and techniques, you’ll achieve a sculpted look while maintaining that youthful glow.
Contouring is an art! With the right technique, you can enhance your natural beauty. Remember, less is more – a light hand and good blending can transform your look beautifully!


5. Highlighting: Where to Place It
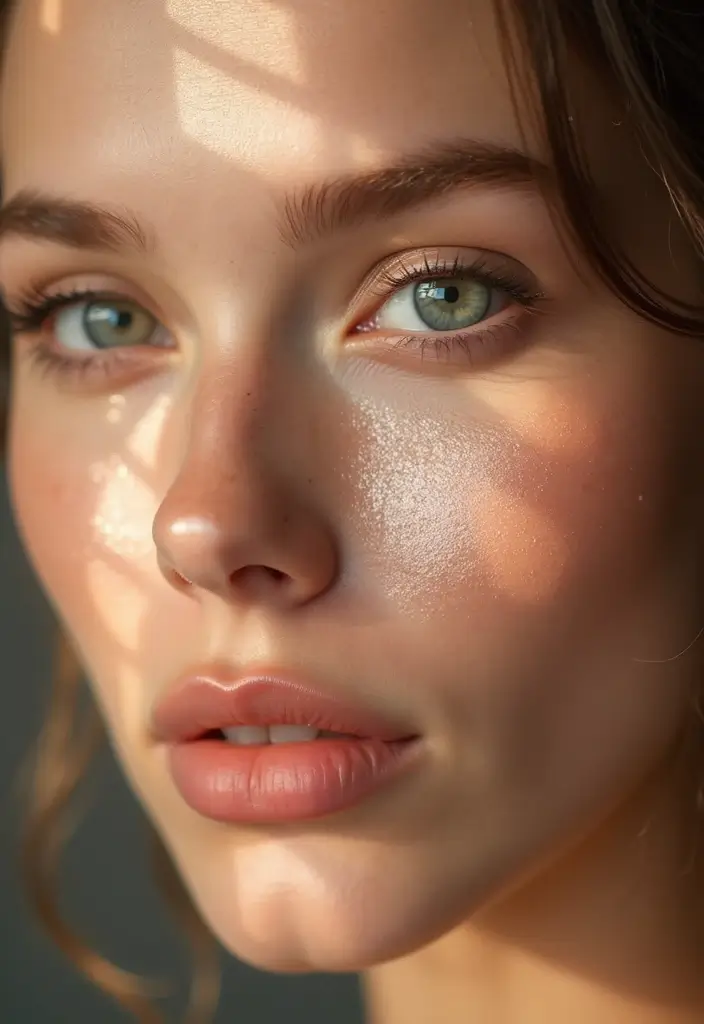
Highlighting is just as crucial as contouring, especially for mature skin that needs a boost of radiance. To achieve that luminous look, apply your highlighter to the high points of your face, such as the tops of your cheekbones, the bridge of your nose, and your cupid’s bow. This creates a beautiful contrast against the shadows created by contouring.
Key highlighting areas include:
– **Cheekbones**: Apply above where you placed contour. For a smooth and even application, consider using the Anmor contour and highlighter brush set. This premium brush kit is perfect for blending and enhancing your cheekbones for that sculpted effect.
– **Brow Bone**: Just under the eyebrows for an instant lift.
– **Nose**: A subtle line down the bridge can elongate the face. The lightweight formula of the e.l.f. Halo Glow highlight beauty wand makes it easy to achieve a natural-looking glow, adding dimension while keeping your skin looking fresh.
Highlighting enhances your sculpted look, adding dimension and luminosity that makes you appear younger and more vibrant. With the right tools and products, achieving that radiant finish is simpler than ever!


6. Blending Techniques for a Seamless Look
Blending is where the magic happens. A well-blended contour will look natural and effortless. For mature skin, use gentle, circular motions with a damp sponge or a soft brush to blend your contour and highlighter seamlessly into your skin. Avoid harsh lines, which can accentuate age.
Here are a few blending tips:
– Always blend upwards; this lifts the face.
– Use a damp sponge for a dewy finish. The Real Techniques Miracle Complexion Sponge is perfect for this, as it provides a full coverage, streak-free finish while being easy to use and clean.
– Take your time; a good blend can take a minute or two. The Flawless Face Brush is an excellent tool for contouring and definition, allowing for a soft application that works wonderfully with powders, blush, and bronzer.
Proper blending transforms your makeup from a made-up look to a second skin that truly enhances your beauty.
Blending is the secret sauce to a flawless contour! Use gentle, circular motions and a damp sponge to lift and illuminate your face. Remember, a little patience goes a long way in achieving that youthful glow!


7. Setting Your Makeup
Once you’ve perfected your contour and highlight, setting your makeup is vital to ensure longevity throughout the day. Opt for a dewy setting spray instead of powder, as powders can settle into fine lines. A light mist will keep your skin looking fresh and radiant.
Here’s how to set your makeup properly:
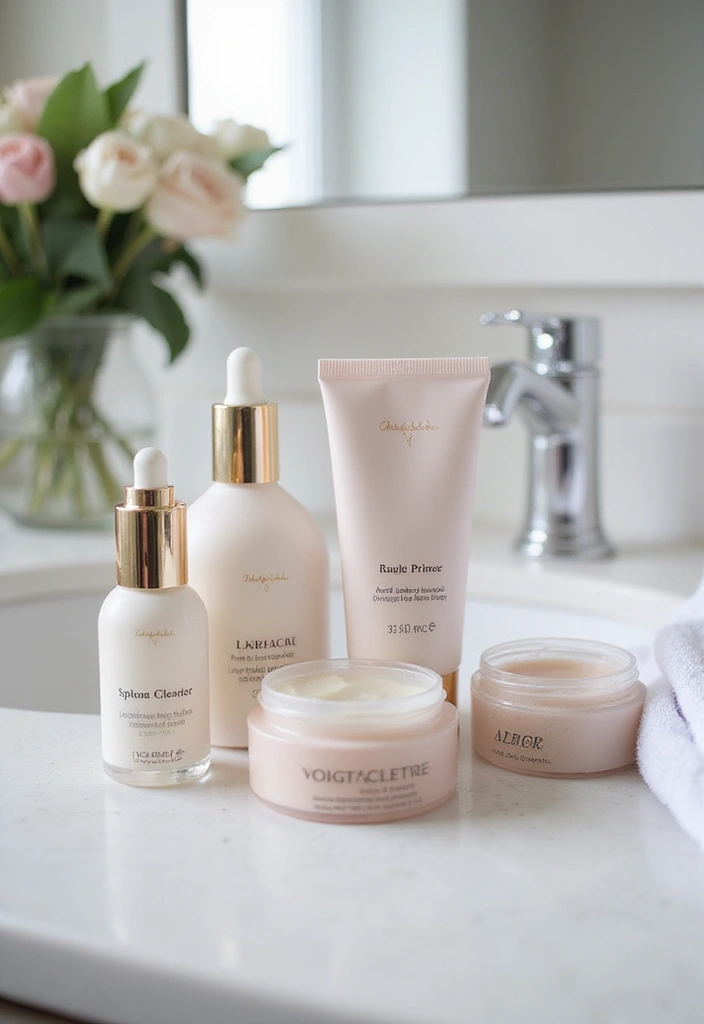
– Choose a dewy or hydrating setting spray, such as e.l.f. Power Grip Dewy Setting Spray. This ultra-fine mist is made with hyaluronic acid, which grips makeup for a hydrated, dewy finish.
– Hold the spray at arm’s length and mist evenly over your face.
– Allow it to dry naturally for that just-applied glow.
Alternatively, you might consider using La Roche-Posay Thermal Spring Water. This hydrating face mist is infused with antioxidants to hydrate and soothe your skin, providing added freshness.
Setting your makeup this way helps lock in your sculpted look while maintaining hydration, so you shine all day long!
Setting your makeup is like sealing in your masterpiece! A light mist of dewy spray keeps your contour fresh and youthful, letting your natural beauty shine all day long.
8. Touching Up Throughout the Day
Touch-ups are essential, especially for mature skin that can change throughout the day. Carrying a compact like Maybelline Fit Me Matte + Poreless Pressed Face Powder can help you refresh your makeup without piling on layers. This compact powder is perfect for quickly addressing shine and ensuring your makeup stays flawless. Use a small brush to lightly apply contour or highlighter in areas that may have faded.
Here’s what to keep in mind for touch-ups:
– Use minimal product; a little goes a long way.
– Focus on areas that need refreshing rather than starting over.
– Utilize a setting spray, like L’Oreal Paris Infallible 3-Second Setting Spray, for a fresh look when needed. This microfine mist helps lock in your makeup for up to 36 hours, ensuring you maintain that sculpted look effortlessly.
Additionally, a tinted moisturizer such as DRMTLGY Matte Tinted Moisturizer SPF 46 can provide hydration and coverage, making it a great option for refreshing your look while keeping your skin protected.
With the right touch-up techniques and these helpful products, you’ll maintain that sculpted look effortlessly!


9. The Power of Practice

Contouring, like any art form, takes practice. Start with light products to build your comfort level before moving on to more intense shades. Experimenting with different techniques and styles allows you to discover what works best for you. Try various lighting conditions and applications to see the results.
Here’s how to practice effectively:
– Dedicate time to play with your makeup on weekends, using a cream contour kit that includes four shades. Its blendable and buildable formula makes it perfect for creating a sculpted look while you’re learning.
– Watch online tutorials for new techniques, and consider using a makeup blending sponge for a seamless finish. This tool is great for achieving full coverage with a streak-free application, especially when practicing with liquid and cream foundations.
– Don’t be afraid to make mistakes; they lead to mastery! A contouring brush set can also help you refine your technique. The angled synthetic kabuki brushes are designed for blending and buffing, making it easier to work with different formulations.
Remember, the more you practice, the more confidence you’ll gain in your contouring skills.


10. Embracing Your Natural Beauty

Above all, remember that contouring is about enhancing your natural beauty, not masking it. While these techniques can create a sculpted look, embracing your unique features is what truly makes you beautiful. Focus on products that feel good on your skin and enhance your confidence.
When selecting products, consider a cream contour kit with four shades that are easy to apply. This blendable and buildable formula allows you to choose shades close to your skin tone for natural results, helping to accentuate your features without overwhelming them.
To highlight your favorite features instead of hiding them, a highlighter stick in a lovely shade like vanilla ice cream can do wonders. It adds a subtle glow that draws attention to your best aspects and celebrates your individuality.
Lastly, invest in an easy-to-use makeup blending sponge to ensure the perfect application of your contour and highlight. This high-definition sponge is latex-free and designed for use with powder, cream, and liquid products, helping you achieve a seamless finish that enhances your natural beauty.
By embracing your unique features with the right tools, you’ll not only look fabulous but feel empowered every day!
Conclusion

With these contouring techniques, you’re well on your way to mastering a beautiful, sculpted look that elevates your natural beauty. Remember, the key is to blend, practice, and embrace your unique features without fear. Each step is a chance to enhance what makes you uniquely you. So grab your makeup and enjoy the process—you’re going to look fabulous!
Note: We aim to provide accurate product links, but some may occasionally expire or become unavailable. If this happens, please search directly on Amazon for the product or a suitable alternative.
This post contains Amazon affiliate links, meaning I may earn a small commission if you purchase through my links, at no extra cost to you.
Frequently Asked Questions
What Are the Best Contouring Techniques for Mature Skin?
For mature skin, the key to effective contouring lies in choosing the right products and techniques. Opt for cream contours instead of powders, as they blend more seamlessly and don’t accentuate fine lines. Focus on applying contour to the hollows of your cheeks and along your jawline, while using gentle, circular motions for blending to achieve a natural look. Remember, less is more!
How Can I Choose the Right Products for Contouring My Face?
Selecting the appropriate contouring products is crucial for achieving that sculpted look. Look for creamy formulations that provide hydration and blend easily into mature skin. Avoid products with heavy glitter or shimmer, as they can draw attention to texture. Always test shades on your skin to find the most flattering tones that enhance your natural beauty.
What Are Some Essential Face Sculpting Tips for Beginners?
If you’re just starting with face sculpting, begin with a light hand when applying products. Use a damp sponge or a soft brush to blend, ensuring a seamless finish. Focus on key areas like your cheekbones, nose, and forehead. Practice makes perfect, so don’t hesitate to experiment with different techniques until you find what works best for your face shape!
How Important Is Blending in the Contouring Process?
Blending is absolutely essential in the contouring process! A well-blended contour looks natural and enhances your features without harsh lines. For mature skin, use gentle, circular motions with a damp sponge or a soft brush to achieve that flawless finish. Remember, the goal is to create soft shadows and highlights that mimic your natural bone structure.
What Should I Do to Set My Makeup After Contouring?
Setting your makeup post-contouring is vital for longevity. For mature skin, avoid using heavy powders that can settle into fine lines. Instead, opt for a dewy setting spray to lock in your look while adding a fresh glow. This will help keep your contour and highlight in place without compromising hydration!