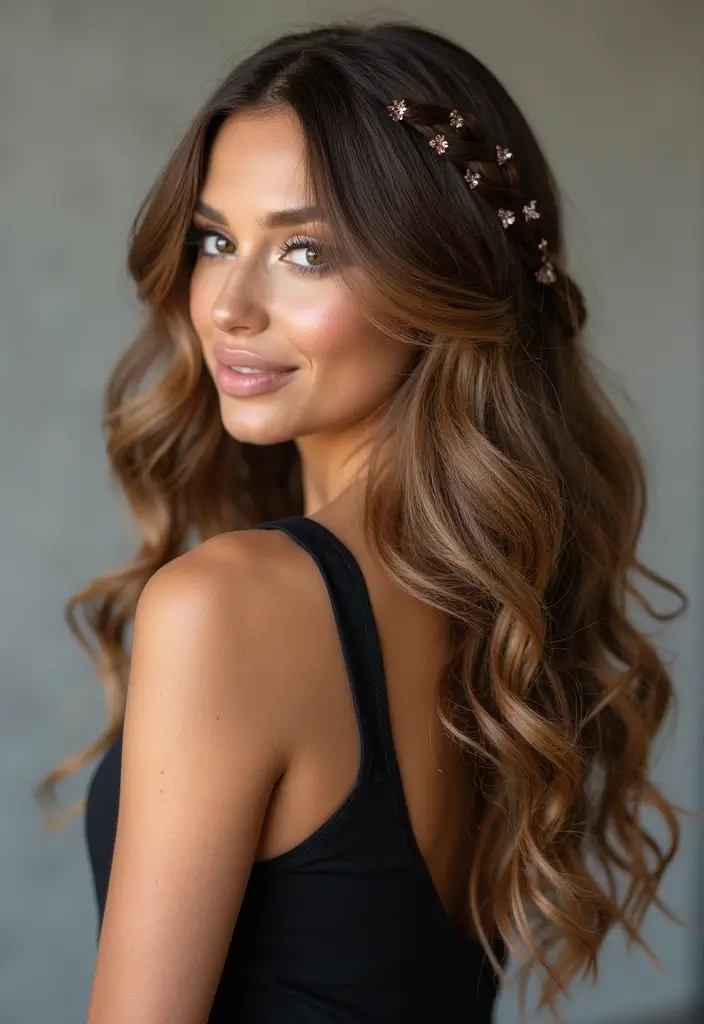
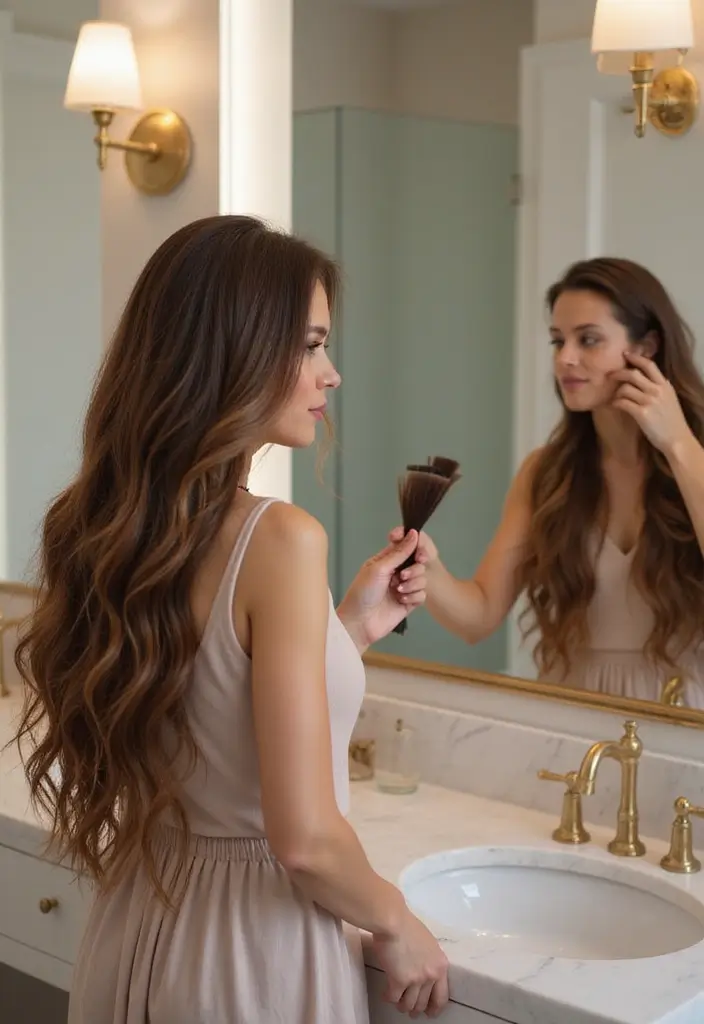
Thinning hair? You’re not alone! Many people struggle with hair that lacks the volume and thickness they desire. Clip-in hair extensions can be a game-changer, adding length and volume without the long commitment of permanent extensions. This guide is here to walk you through the steps of installing clip-in hair extensions for a natural look that will leave you feeling fabulous.
Whether you’re prepping for a special occasion or just want to revamp your everyday style, these extensions offer a simple, DIY solution. Let’s explore how to achieve that gorgeous volume and enhance your natural hair with clip-in extensions that blend seamlessly with your look!
Choosing the Right Clip-in Hair Extensions
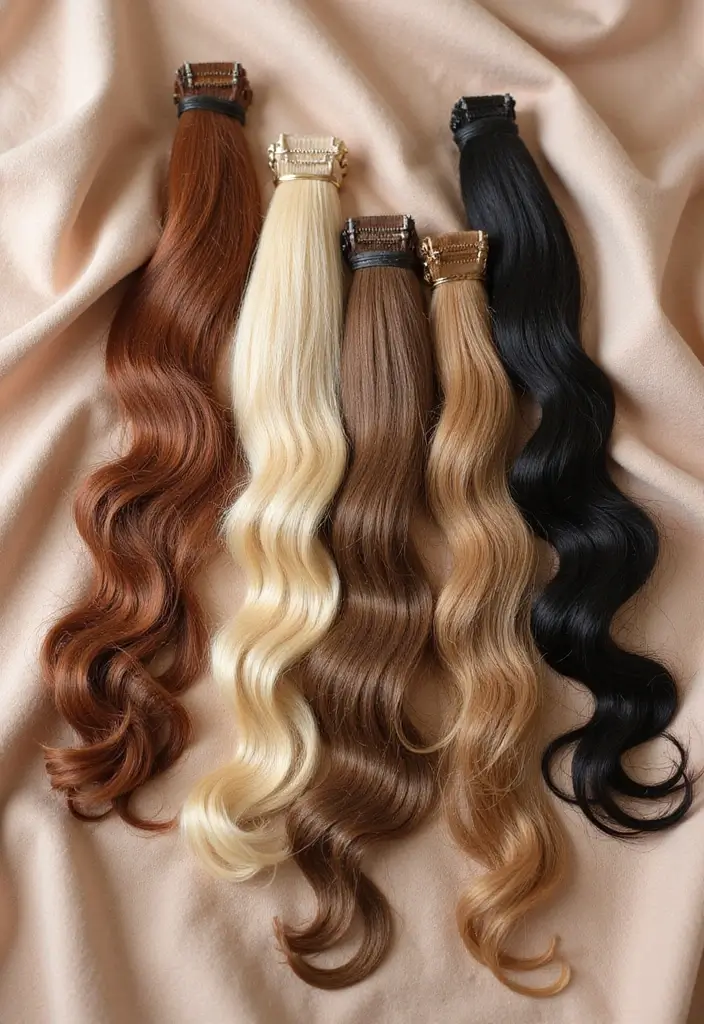
Selecting the right clip-in hair extensions is crucial for achieving a natural appearance. Start by determining the type of hair you want—human hair extensions generally offer better blending and styling options compared to synthetic ones. For a seamless blend, look for extensions that match your hair color and texture as closely as possible.
When it comes to thickness, consider what will work best for your hair type. For fine or thinning hair, lighter extensions can provide volume without overwhelming your natural locks. Aim for a set with multiple wefts; this customization will allow you to adjust your look based on the volume you desire. A great option is the LORIEN Clip in Hair Extensions Real Human Hair, which includes 8 pieces of 18-inch 100% Brazilian Remy human hair extensions. This set not only offers natural blending but also delivers thickness without being too heavy.
To ensure you find the perfect shade, consider using the Noverlife 30PCS 9″ Human Hair Swatches for Testing Color. This color testing kit allows you to match shades against your hair in natural light, helping you find the right color for a flawless look.
Lastly, texture matters. Matching the texture of your extensions to your natural hair will enhance the overall look and feel. This thoughtful approach will set the foundation for achieving gorgeous volume that enhances your overall appearance.


Preparing Your Hair for Installation
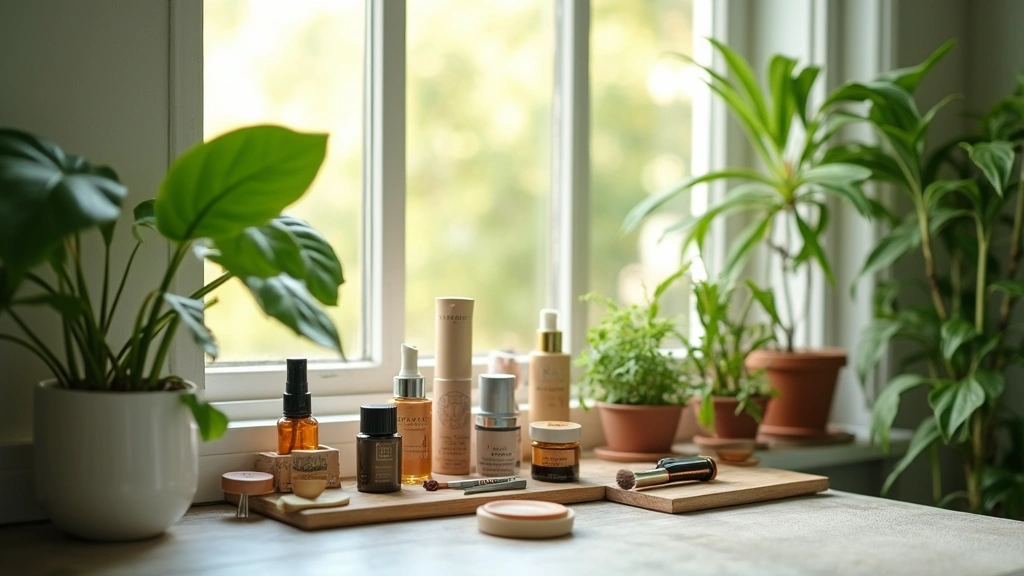
Before you dive into the installation, prepping your natural hair is essential. Clean, dry, and styled hair provides a better base for clip-in extensions. Start with a gentle wash using Biolage Volume Boost Shampoo, which gently cleanses while boosting volume, making it ideal for fine hair. Follow up with Redken Volume Injection Conditioner that adds lift and body without weighing your hair down, ensuring it stays light and bouncy.
Once your hair is clean, blow-dry or let it air-dry completely. If you have time, adding curls or waves creates a more textured base that the extensions can grip onto. Consider using a light mousse like Lottabody Coconut Oil and Shea Wrap Me Foaming Curl Mousse to define your curls while keeping frizz at bay. This mousse not only helps enhance your natural texture but also allows the extensions to blend seamlessly.
Key prep steps:
– Wash: Use a volumizing shampoo.
– Dry: Blow-dry or air-dry your hair completely.
– Style: Adding curls gives texture and volume, helping the extensions blend.
By ensuring your hair is in the best condition, you’ll create the perfect canvas for clip-in installation.
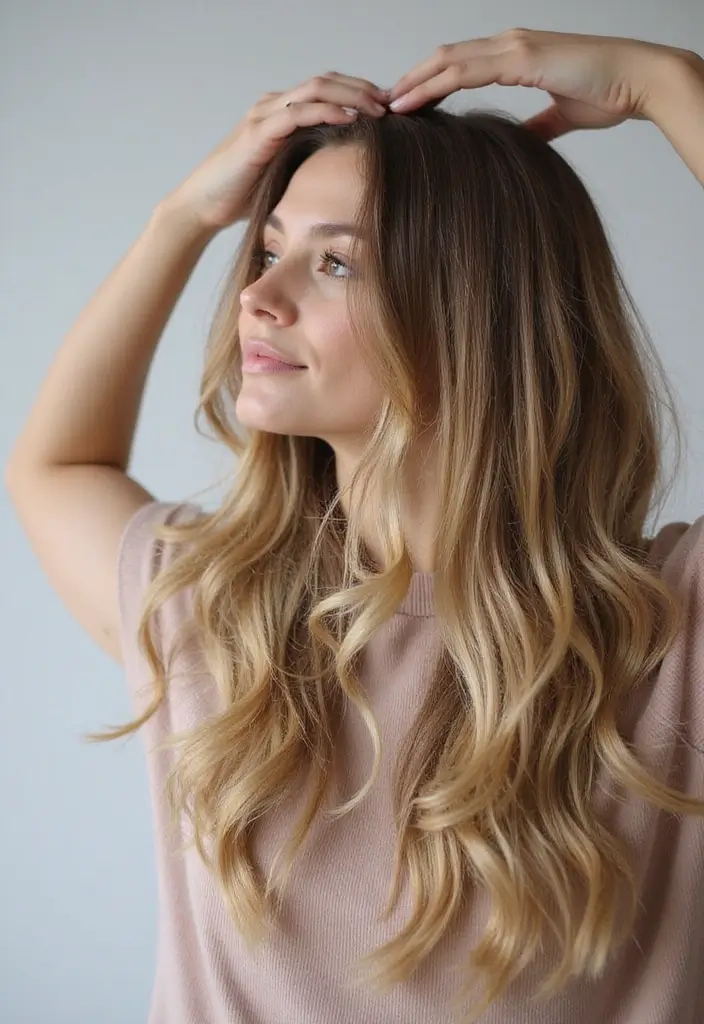
Prep your hair right for gorgeous volume! Clean, dry, and styled hair creates the perfect canvas for clip-in extensions. Remember, a little texture goes a long way in helping your extensions blend seamlessly!


Sectioning Your Hair for Ease
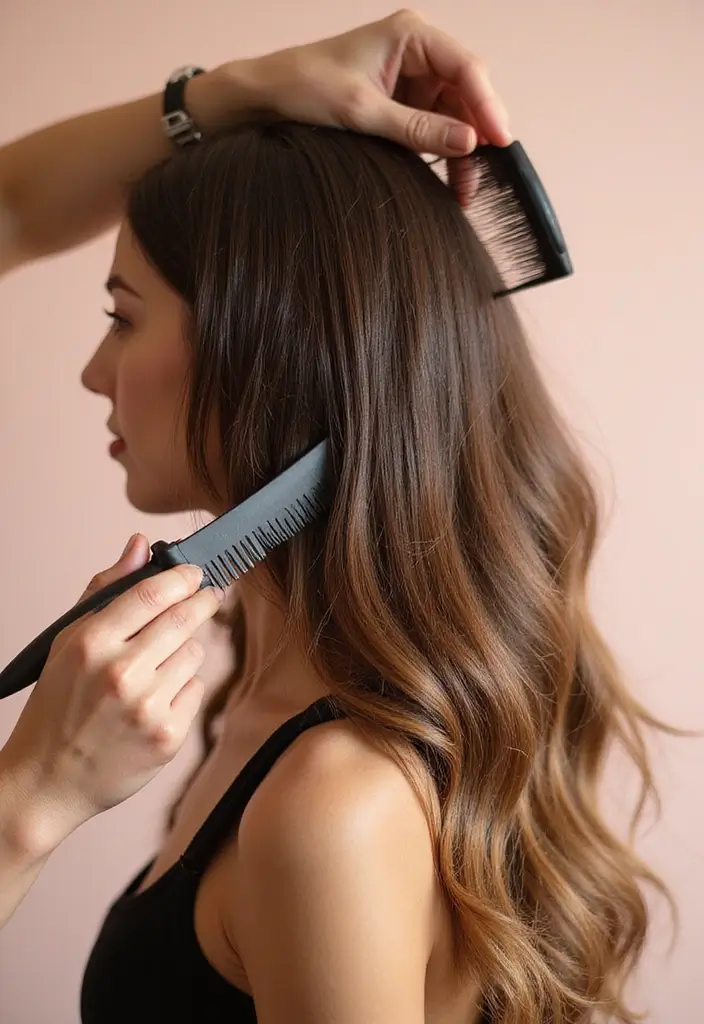
Now that your hair is prepped, it’s time to section it for the clip-in installation. Using a rat tail comb or your fingers, divide your hair into sections, starting from the nape of your neck. This tool is especially helpful for creating precise sections, making it easier to apply the extensions and ensuring that they blend seamlessly with your natural hair. Secure the top sections with clips, such as the hair clips for sectioning. These clips help keep your hair neatly out of the way during application, so you can focus on getting the perfect look.
Begin with the bottom layer—this is where the first weft will go. The section should be about an inch thick, allowing enough hair to cover the clips completely. Continue to section off hair as you move up, adding more extensions as you go.
Sectioning tips:
– Base layer: Start with 1-inch sections at the nape.
– Secure clips: Make sure each clip is well-hidden under your natural hair.
– Balance: Keep sections even to avoid a top-heavy look.
This strategic approach will help create gorgeous volume that feels natural and stays put! For the final transformation, consider adding clip-in hair extensions for a fuller look. These extensions are made from real human hair, making them blend beautifully with your own locks and allowing for a stunning finish.


Installing the First Weft
Let’s get into the fun part—installing your first clip-in weft! Start with the bottom section you created earlier. Hold the weft up to your natural hair, ensuring the clips are facing down towards your scalp. For a secure hold, consider using the GOO GOO Clip in Hair Extensions, which are made from real Remy human hair and provide a natural look and feel. Open the clips by pressing the small lever. Place the weft into position and gently press the clips into your natural hair until you hear a click.
For extra security, you may gently tug on the weft to ensure it’s secure. If it feels loose, you may need to adjust. This initial installation sets the tone for the rest of your extensions, so take your time.
Installation tips:
– Angle: Clip at a slight angle for a better grip.
– Check Security: Give it a light tug to confirm it’s secure.
– Blend: Once installed, let down the top section to blend with the weft.
To help with the blending process, a good brush can make all the difference. The boar bristle brush is perfect for gently smoothing your extensions and ensuring they blend seamlessly with your natural hair.
Once the first weft is securely in place, you’re on your way to fabulous volume! If you need additional clips for your extensions, check out the hair extension clips. They can be handy for any adjustments or extra wefts you might want to add later.
Unlock your inner beauty! Installing your first clip-in weft is the key to gorgeous volume—just a few clicks away from transforming your look.


Filling in with Additional Wefts

Once the first weft is securely in, it’s time to add more for that gorgeous volume! Depending on your desired thickness, you might choose to add one or two more wefts. Follow the same process: section off more hair above the first weft, and clip in the next weft.
To ensure a seamless blend, make sure to stagger the wefts as you go. This technique helps to avoid a bulky appearance and gives a more natural flow. For the top layers, consider using shorter wefts, as they can create a fuller look without being too heavy.
For ease of application and to maintain the quality of your hair, here are a few helpful products:
– GOO GOO clip in hair extensions are made from real human hair and are perfect for adding the volume you desire. With a set that includes seven pieces, you can customize your thickness while ensuring the extensions blend beautifully with your natural hair.
– When securing the wefts, efficient clips are essential. Consider using hair extension clips, which are designed specifically for making wig accessories. Their strong hold will keep your extensions in place throughout the day.
– To keep your extensions looking sleek and tangle-free, a good brush is a must. The boar bristle brush is perfect for smoothing and styling your hair extensions without causing damage, ensuring they remain in great condition.
Always check your blend in a mirror to ensure the extensions integrate well with your natural hair. Layers of added extensions will elevate your style and give you that coveted thickness!


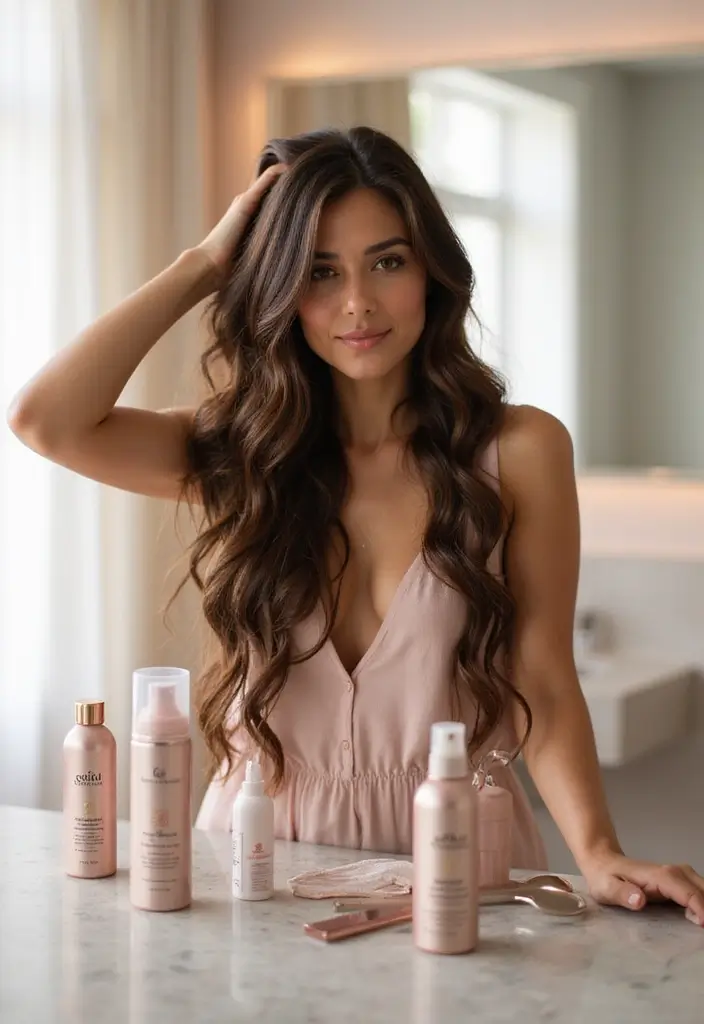
Styling Your New Volume
With your extensions installed, it’s time to style them! You can curl, straighten, or braid your hair to create a variety of looks. To keep both your natural hair and extensions healthy while using heat styling tools, consider incorporating a CHI 44 Iron Guard Thermal Protection Spray. This nourishing formula helps resist heat damage and tames frizz, ensuring your hair stays vibrant and healthy.
For added volume, loose waves are a perfect option; they blend beautifully with extensions. Use a Conair Double Ceramic 1-inch Curling Wand to create effortless curls that enhance your volume. If you’re aiming for a sleek look, using a straightener can help align the extensions and your natural hair seamlessly.
For a fun, boho vibe, braid a section or two of your hair. You can also elevate your style by adding flair with a range of hair accessories like clips or bands. These little touches can make a big difference in your overall look!
With these styling options and helpful products, your gorgeous volume is ready to shine!


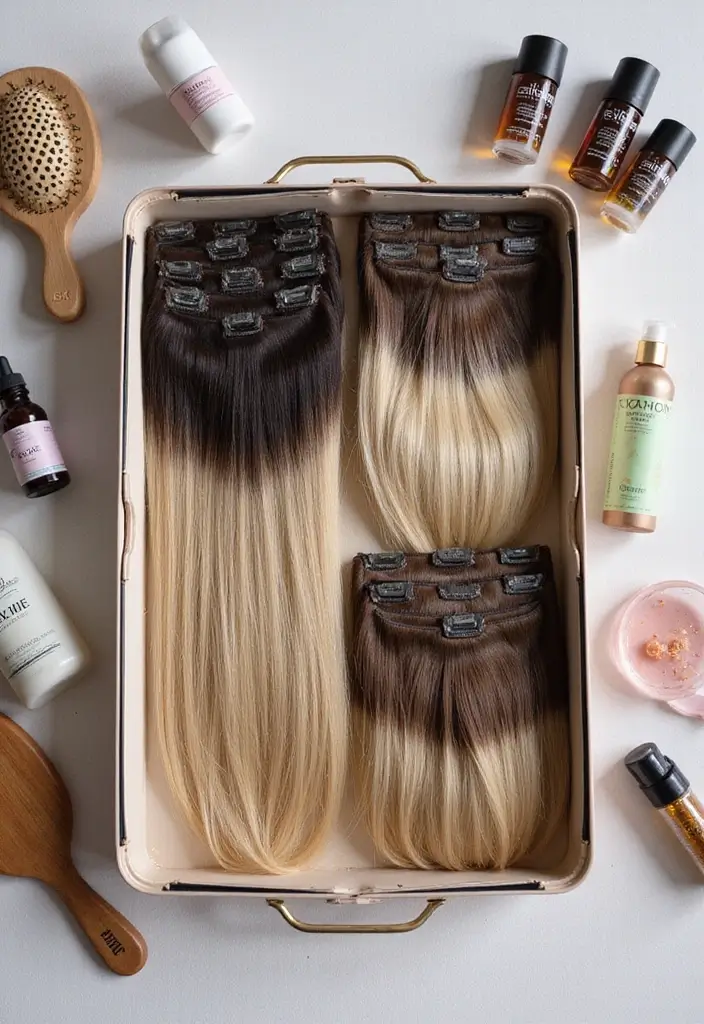
Maintaining Your Clip-in Hair Extensions
To keep your clip-in extensions looking fabulous, maintenance is key. Start by gently brushing them out after each use to prevent tangling. A great tool for this is the Soft-Bristle Hair Brush, which helps minimize breakage while keeping your extensions smooth and tangle-free. Avoid using heavy products on the extensions; instead, stick to lightweight serums or sprays that enhance shine without weighing them down.
When it comes to washing your extensions, opt for a sulfate-free option. The Sulfate-Free Shampoo and Conditioner Set from L’Oreal Paris is perfect for this, as it’s gentle on the hair and helps maintain its quality, especially for color-treated extensions.
Store your extensions in a cool, dry place, ideally in a protective case like the Hair Extension Storage Case. This case not only helps maintain their shape but also protects them from dust and damage when not in use.
Maintenance tips:
– Brush regularly: Use a soft-bristle brush to avoid breakage.
– Avoid heat: Limit heat styling to extend their life.
– Proper storage: Keep them in a case when not in use.
With proper care, your clip-in extensions can last a long time, ensuring that gorgeous volume is always at your fingertips!
To maintain gorgeous volume, treat your clip-in extensions with love! A gentle brush and lightweight products go a long way in keeping your look fabulous and fresh.


Troubleshooting Common Issues
Even the most seasoned extension wearers run into issues from time to time. If you find that your extensions are slipping, ensure your natural hair is clean and free from product buildup before application. Sometimes, adding a bit of texture spray like Kenra Platinum Dry Texture Spray 6 can help the clips grip better, providing the necessary hold and definition for a seamless look.
If your extensions don’t blend well, consider trimming them slightly to match your natural hair length. Using high-quality hair shears makes it easier to achieve a clean cut for a more natural finish. Additionally, layering your natural hair can create a more balanced look with the extensions.
Troubleshooting tips:
– Slipping: Use texture spray for grip.
– Poor Blend: Trim or layer natural hair to match.
– Bulky Appearance: Ensure sections are even and staggered.
Addressing these common issues can ensure that you maintain that gorgeous volume without any hiccups!


Embracing Your New Look with Confidence

After you’ve perfected your installation and styling, it’s all about confidence! Embracing your new look will elevate your overall experience. Walk tall, flaunt those luscious locks, and enjoy the compliments that come your way!
To maintain that gorgeous volume and keep your extensions looking fresh, consider using a heat protectant spray like CHI 44 Iron Guard. This nourishing formula helps resist heat damage and tame frizz, ensuring your hair extensions always look their best.
Remember, hair extensions can transform not just your look but also the way you feel. Pair your gorgeous volume with a smile, and you’ll radiate beauty inside and out. Confidence is the best accessory, and with clip-in extensions like the Clip-in Hair Extensions, you’re all set to enjoy a fuller, more vibrant hairstyle.
For added convenience and to keep your hair extensions safely stored, a hair extension storage bag can be a great solution. This lightweight, waterproof bag keeps your extensions dust-proof and organized, so you can easily manage your fabulous new look.
Confidence tips:
– Own your style: Wear your hair the way you love.
– Compliments: Accept them gracefully – you deserve it!
– Experiment: Don’t hesitate to try out new styles.
With this newfound confidence and the right products, your clip-in extensions will amplify your beauty and elevate your everyday looks.
Embrace your gorgeous volume! Confidence is the secret ingredient to rocking those clip-in extensions. Flaunt your beautiful new look and watch as compliments flow your way – after all, when you feel good, you look good!


Conclusion

Installing clip-in hair extensions for gorgeous volume is a simple yet transformative beauty hack! With the right techniques, products, and confidence, anyone can achieve a fuller look that feels comfortable and stylish. Remember that practice makes perfect, and soon you’ll master the art of clip-in extensions.
So why not give it a go? Your luscious, voluminous hair awaits!
Note: We aim to provide accurate product links, but some may occasionally expire or become unavailable. If this happens, please search directly on Amazon for the product or a suitable alternative.
This post contains Amazon affiliate links, meaning I may earn a small commission if you purchase through my links, at no extra cost to you.
Frequently Asked Questions
What Are the Best Types of Clip-in Hair Extensions for Thinning Hair?
When it comes to enhancing your natural hair volume, human hair extensions are often the best choice for thinning hair. They blend seamlessly with your own hair, allowing for a more natural appearance.
Look for extensions with a lightweight design that won’t weigh down your hair. Additionally, consider options that match your natural hair color and texture for the most stunning results!
How Do I Prepare My Hair Before Installing Clip-in Extensions?
Prepping your hair is crucial for a flawless installation! Start with clean, dry, and styled hair. Use a gentle shampoo and conditioner, and avoid heavy products that can cause buildup.
Section your hair into manageable parts using a rat tail comb to ensure easy installation. This preparation will help the extensions blend better and stay secure throughout the day!
What If My Clip-in Extensions Keep Slipping Out?
If your extensions are slipping, it could be due to product buildup or improper application. First, make sure your natural hair is clean and free from oils before applying the clips.
Additionally, try using smaller sections of hair for each weft to ensure a firmer grip. If all else fails, consider using a hair spray or styling product to give your clips extra hold!
Can I Style My Clip-in Hair Extensions Just Like My Natural Hair?
Absolutely! One of the perks of using human hair clip-in extensions is that they can be styled just like your natural hair. You can curl, straighten, or braid them to create various looks.
Just remember to use heat protectant products to keep both your extensions and natural hair healthy. Styling them can help you achieve the gorgeous volume you desire!
How Do I Maintain My Clip-in Hair Extensions for Long-lasting Use?
Maintaining your clip-in extensions is key to keeping them looking fabulous! Start by gently brushing them out after each use to prevent tangling, and store them properly when not in use.
Consider using a mild shampoo and conditioner specifically designed for extensions, and avoid excessive heat to prolong their lifespan. With proper care, you’ll enjoy gorgeous volume time and again!