There’s something effortlessly stunning about a flawless complexion that captures everyone’s attention.
Using a makeup sponge can transform your makeup application from basic to bombshell, especially for those with oily skin.
This guide will share essential techniques to achieve that coveted airbrushed finish without looking cakey or feeling heavy.
So, if you’re all about elevating your beauty game, grab your favorite sponges, and let’s get those tips rolling!
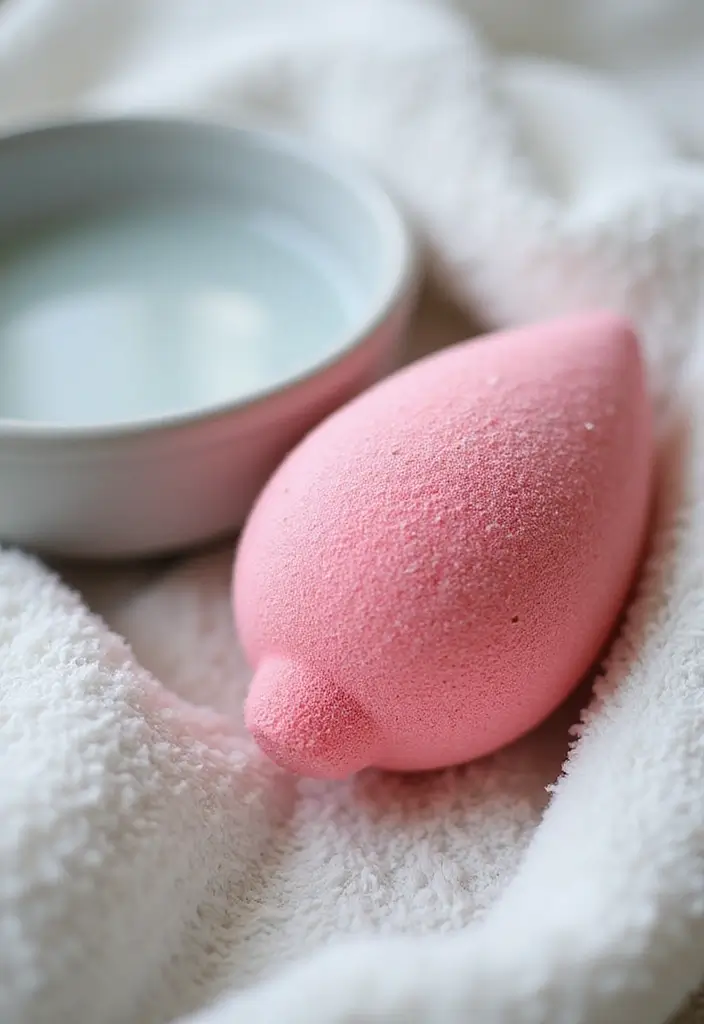
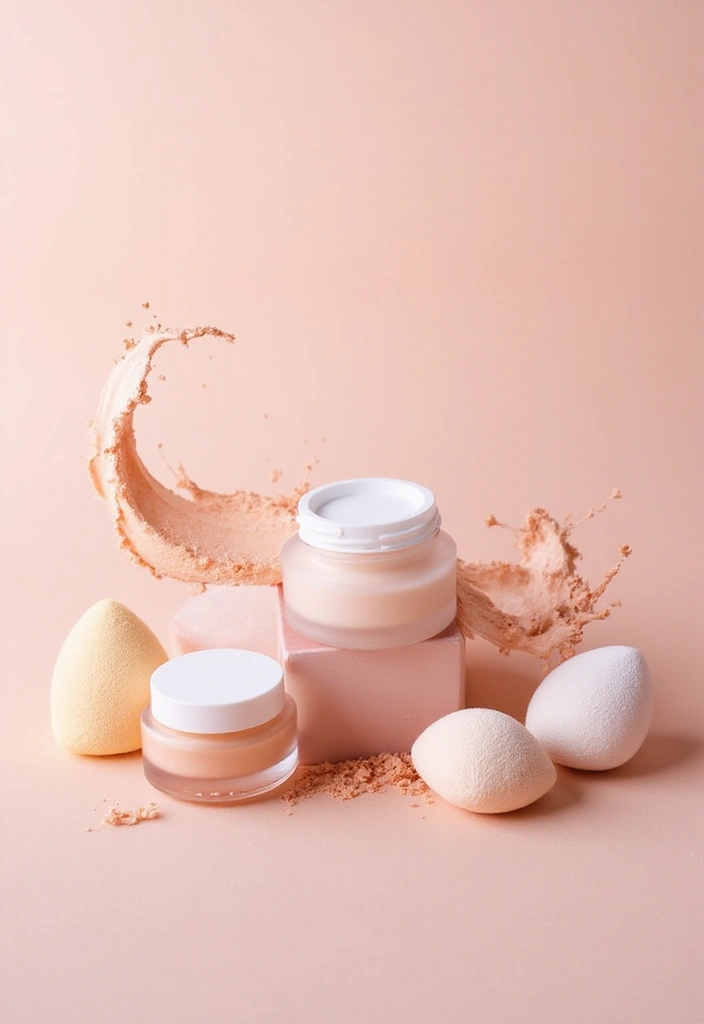
1. Choose the Right Sponge

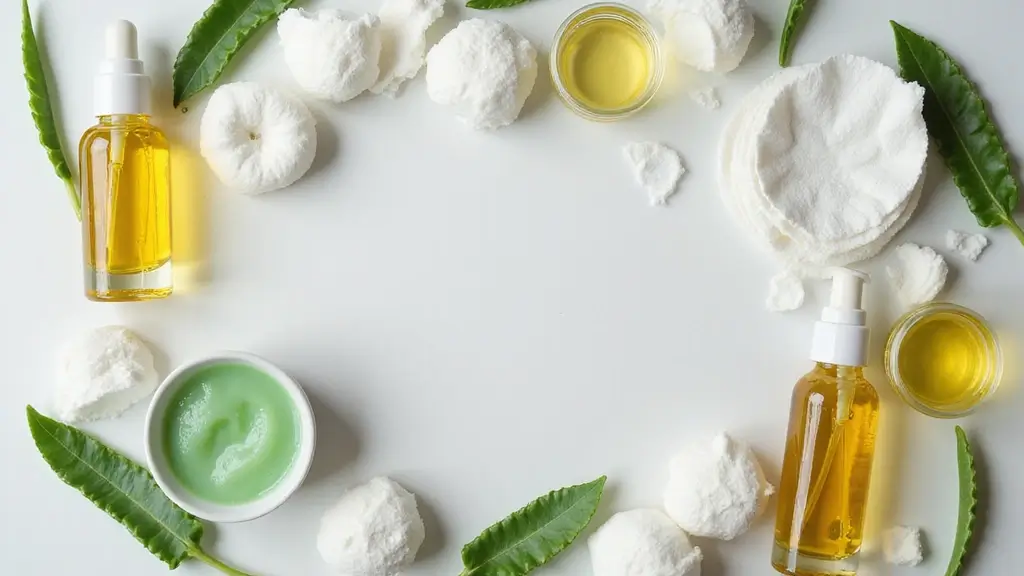
Not all makeup sponges are created equal! For achieving an airbrushed finish, it’s essential to pick the right type of sponge.
Beauty sponges come in various shapes and sizes, but the most popular ones are the classic teardrop shape and the flat-edged ones. A high-quality, latex-free sponge that’s soft to touch is important. For instance, the Beauty Blender Original Makeup Sponge is known for its ability to blend foundation seamlessly, giving you that coveted fresh look when dampened before use.
Another fantastic option is the Real Techniques Miracle Complexion Sponge, which is designed for full coverage and streak-free application. Its unique shape allows you to reach all areas of your face effortlessly, making it a reliable tool for flawless makeup application.
For an eco-friendly choice, consider the EcoTools Makeup Sponge Set. These compostable sponges are not only gentle on your skin but also offer a seamless application for liquid and cream foundations while being conscious of the environment.
Key tips:
– Replace sponges every 3-6 months to avoid bacteria.
– Store in a breathable pouch to keep them clean.
– Test out different brands to find the texture that suits your skin best.
Choosing the right sponge is like picking the perfect brush for a masterpiece. A quality, damp sponge is your secret weapon for that coveted airbrushed finish!


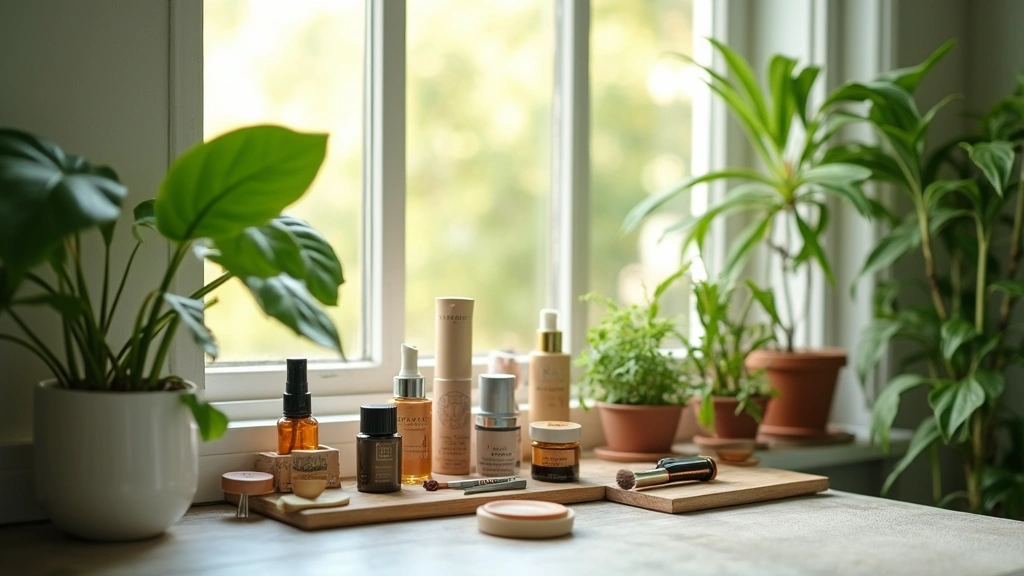
2. Prep Your Skin
Preparing your skin is the secret sauce to a flawless finish.
Before reaching for your sponge, it’s essential to cleanse, exfoliate, and moisturize your face. Start with the La Roche-Posay Toleriane Hydrating Gentle Face Cleanser, which is perfect for gently removing impurities without stripping your skin of moisture. Its formula with niacinamide and ceramides ensures that your skin feels hydrated and ready for the next steps.
Exfoliating 1-2 times a week is crucial for removing dead skin cells, and the Dove Brown Sugar and Coconut Butter Body Scrub is a fantastic option. This scrub not only exfoliates but also deeply nourishes your skin, leaving it smooth and radiant.
Once your skin is clean and exfoliated, apply a lightweight, oil-free moisturizer and let it settle for at least 5 minutes before applying makeup. This step is vital for ensuring your foundation glides on smoothly. For an added layer of preparation, finish with the Elizabeth Mott Thank Me Later Face Primer. This mattifying primer helps control shine and gives your makeup a solid base to adhere to, leading to a long-lasting finish.
Prepping your skin is the foundation of a flawless airbrushed finish. Just a little cleanse, exfoliate, and a mattifying primer can make a world of difference!


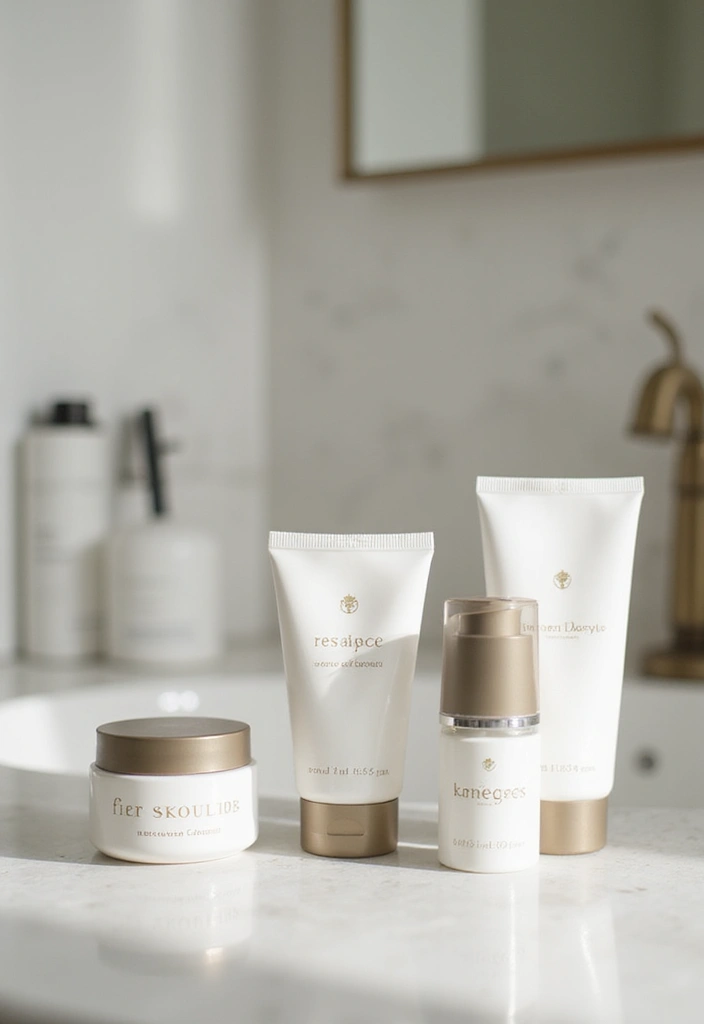
3. Use the Right Foundation

Foundation is your canvas, so choosing the right one is crucial. For oily skin, it’s best to stick to matte or oil-free foundations. These formulas help absorb excess oil and prevent shine throughout the day, ensuring that your look stays fresh.
One great option is the Maybelline Fit Me Matte + Poreless Liquid Oil-Free Foundation Makeup. This foundation is designed specifically for those with oily skin, providing a beautiful matte finish that helps minimize the appearance of pores.
If you prefer a powder formula, consider the bareMinerals Original Loose Powder Foundation SPF 15. This clean mineral powder offers sheer-to-full coverage while being talc-free and non-comedogenic, making it a fantastic choice for maintaining a flawless look without clogging pores.
For those looking for lighter coverage, a BB cream can be an excellent alternative. Try the BB Cream Skin Tinted Foundation Makeup. This product not only evens out skin tone but also provides oil control and a natural matte finish, making it suitable for all skin types.
Remember to select a shade that matches your skin tone perfectly.
Quick Tips:
– Test foundation shades on your jawline, not your wrist.
– Always shake liquid foundations before use to mix the ingredients.
– Consider using a BB cream with a matte finish if you want lighter coverage.


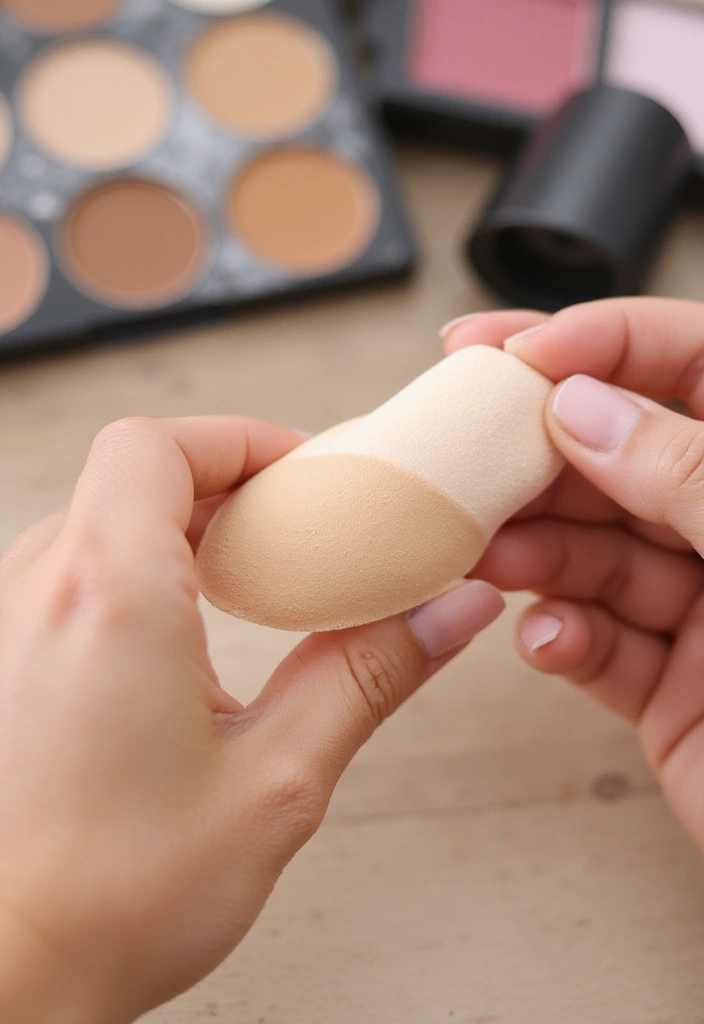
4. Dampen Your Sponge
This step is key for a seamless application that doesn’t look heavy. Dampen your makeup sponge, like the Makeup Sponge Set, with water before use.
When the sponge is slightly wet, it expands, allowing it to pick up less product and disperse it evenly on your skin. This technique prevents cakeiness and gives a soft, airbrushed effect. To enhance your experience, you might consider using L’Oreal Paris Infallible 3-Second Setting Spray mixed with the water for extra hydration, which can elevate the finish.
Make sure to squeeze out any excess water, so it’s just damp, not dripping wet.
Pro Tip: Adding a little setting spray to the water not only keeps your makeup in place but also adds a touch of hydration, making your application even more flawless.
Dampening your sponge isn’t just a step—it’s the secret to an airbrushed finish! A little water goes a long way in creating that flawless look we all crave. Remember, it’s all about that perfect balance!


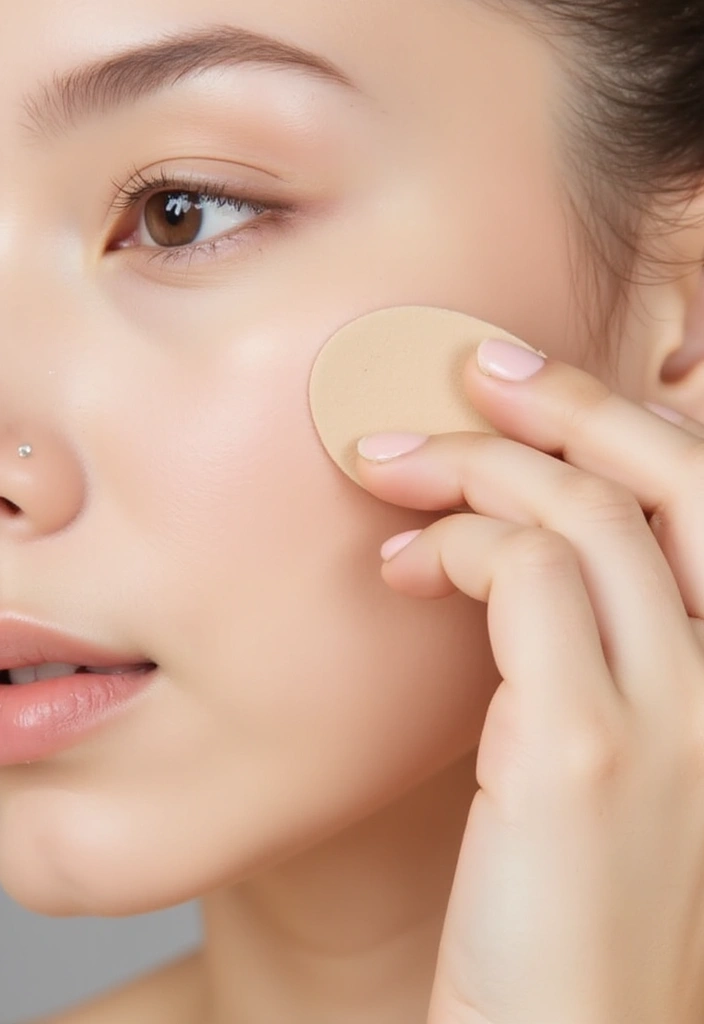
5. Apply Foundation with a Bounce
Now for the fun part! Apply your foundation using a bouncy motion with your sponge for a flawless finish. Start by dabbing your sponge into a foundation like L’Oreal Paris True Match Super-Blendable Foundation. This medium coverage liquid foundation is designed to blend seamlessly into your skin, enhancing your natural complexion without feeling heavy.
Begin applying the foundation to your skin in a bouncing motion rather than dragging the sponge. This technique allows the product to meld into the skin without disrupting the prep work you’ve done, ensuring an even application. It’s best to start from the center of your face and work your way outwards for a balanced look.
Be patient and build coverage gradually, especially in areas where you may want more coverage. For extra precision, use the pointed end of the sponge around the eyes and nose. This focused approach helps you achieve a flawless base without accidentally over-applying, particularly on oily areas where you can prevent additional shine.
To set your look, consider finishing with a light dusting of wet n wild Photo Focus Loose Baking Setting Powder. This translucent powder works well to lock in your foundation, providing a smooth, matte finish while catering to fair to medium and tan skin tones.
Remember, always use a light hand for the best results!
6. Blend Away Imperfections
After applying foundation, it’s time to address any imperfections for a complete, polished look. Use your makeup sponge to blend any problem areas effectively. Dabbing motions work best to smooth out harsh lines and ensure everything is well-blended.
If your skin has redness or blemishes, consider using a little concealer, like the Neutrogena SkinClearing blemish concealer, which not only helps cover imperfections but also contains salicylic acid to treat and prevent breakouts. Gently tap the concealer over those areas with a clean sponge for an even finish.
This layering technique is perfect for creating that flawless appearance without adding weight to your makeup. Remember to follow some best practices: never rub or wipe; always dab, and use a light hand to avoid disturbing the underlayers of makeup. To maintain hygiene and enhance your makeup application, clean your sponge regularly using a gentle cleanser like the EcoTools cleanser shampoo for makeup brushes and sponges. This will help remove makeup and impurities, ensuring your tools are in top shape for your next application.


7. Set with Powder
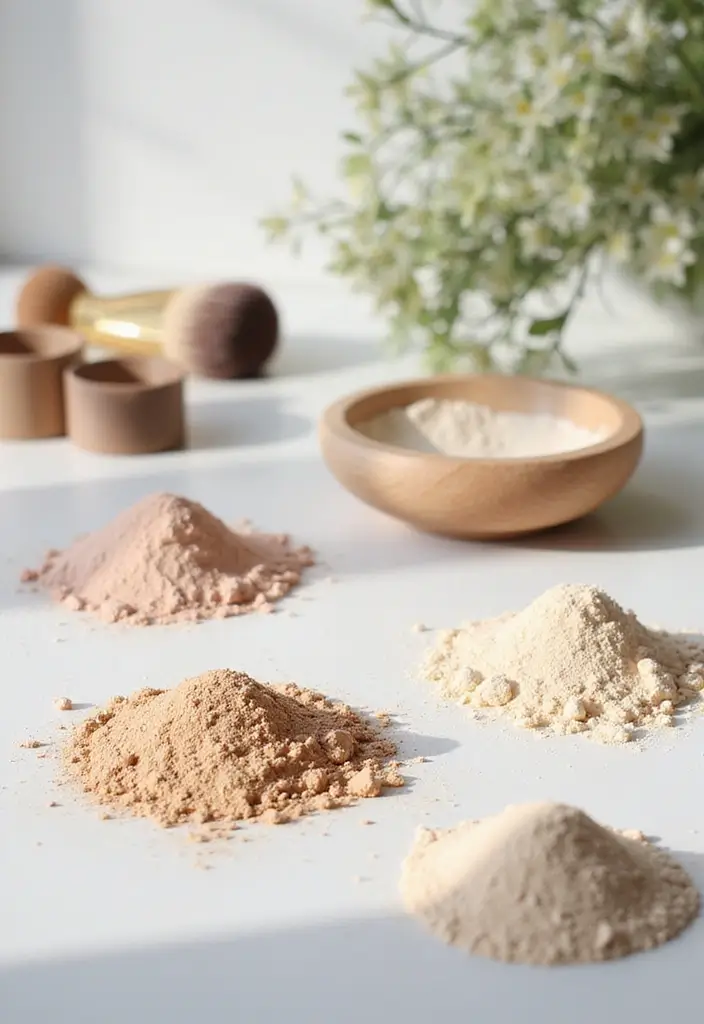
Once you’re satisfied with the foundation coverage, it’s essential to set everything in place.
For oily skin, a translucent setting powder is your best friend. A great option is the Revolution, Loose Baking Powder, which is designed to mattify and reduce shine while providing long-lasting coverage. Use a fluffy brush, like the Fluffy Makeup Brush, to apply a light dusting of powder over the oily areas—typically the T-zone. This helps lock in your makeup and keep your skin looking fresh.
Be careful not to overdo it, as too much powder can lead to a dry look.
Pro Tip:
– After applying powder, finish off with a small amount of L’Oreal Paris Infallible Setting Spray. This microfine mist helps meld everything beautifully, giving you a nice glow while keeping shine at bay.
8. Highlight Strategically
### 8. Highlight Strategically
Want to elevate that airbrushed look? Adding highlights can give you that gorgeous, luminous finish.
Stick to cream or liquid highlighters, like the e.l.f. Halo Glow Highlight Beauty Wand, as they blend seamlessly with your foundation and won’t settle into any pores or fine lines. This buildable formula in the shade Champagne Campaign is perfect for achieving that soft, radiant glow you desire.
Use a clean sponge, such as the AOA Studio Collection makeup sponge set, or your fingers to apply highlighter to the high points of your face, like the cheekbones, brow bones, and the bridge of your nose. The super-soft texture of the sponges allows for easy blending, ensuring a flawless application every time.
Remember, less is more! A little glow goes a long way.
Quick Tips:
– Avoid applying highlighter directly on oily areas.
– For a soft glow, mix the highlighter with a little oil free lotion with birch sap before application for added hydration and a smoother finish.
A little highlighter goes a long way! For that stunning airbrushed finish, remember to keep it light and blend it well. Your glow should enhance, not overwhelm!


9. Finish with Setting Spray
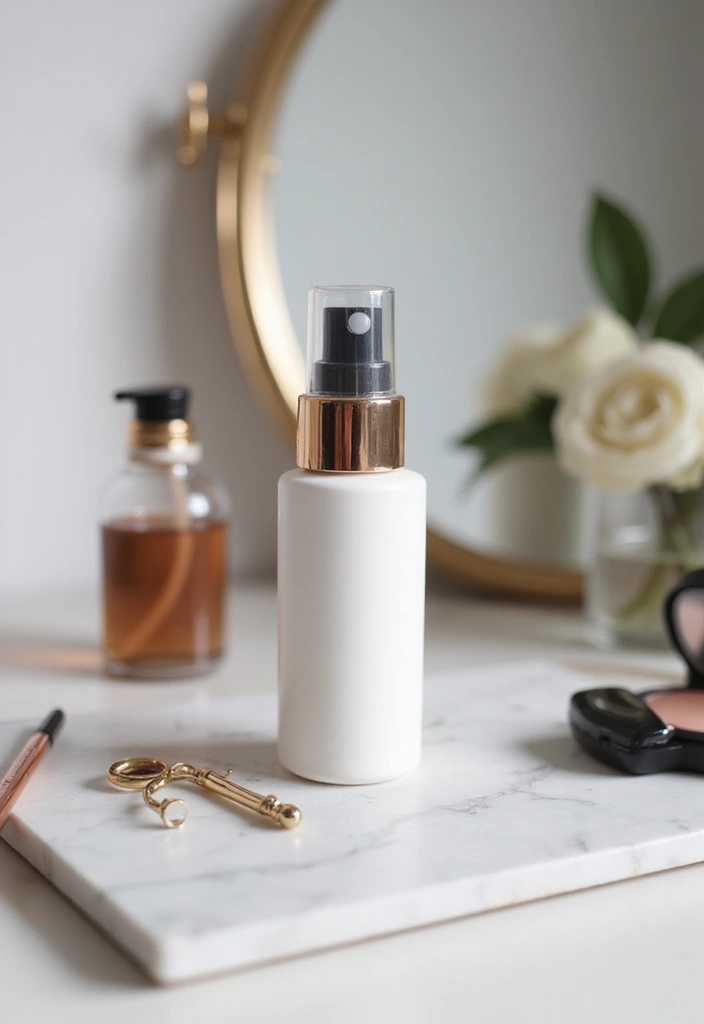
The final touch for a lasting airbrushed finish is a good setting spray. This locking technique ensures your makeup stays put while controlling oil and shine throughout your day. For those looking to combat any unwanted glow, consider using e.l.f. Matte Magic Mist & Set. This lightweight and long-lasting spray is specifically designed to mattify, revitalize, and control shine, making it an excellent choice for oily skin.
To apply, hold the spray at arm’s length and mist it in a T shape across your face, ensuring even coverage.
Important Note:
– Let the spray dry on its own; don’t fan it out to avoid disturbing your makeup!
10. Clean Your Sponge Regularly
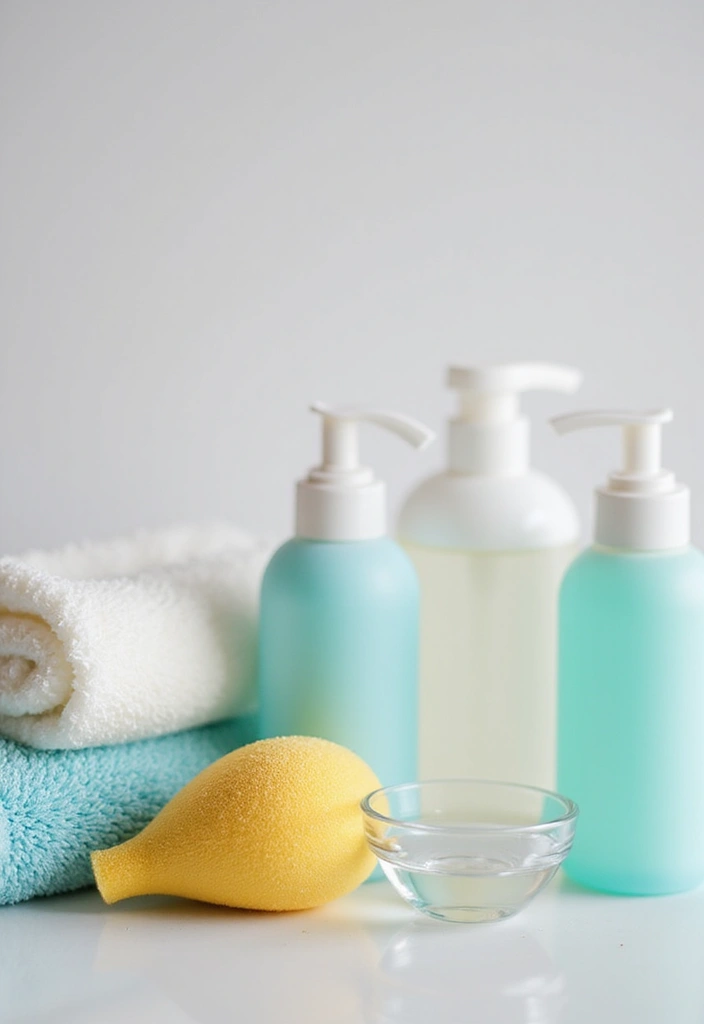
Finally, keeping your makeup sponge clean is crucial for both skin health and optimal performance. Regular cleaning prevents bacteria build-up and maintains the sponge’s integrity. To clean, you might consider using EcoTools Cleanser Shampoo for makeup brush/sponge/puffs, which is fragrance-free and free of harsh chemicals. This gentle formula effectively removes makeup and impurities without damaging your sponge.
Rinse thoroughly under lukewarm water until it runs clear, and aim to wash your sponge once a week or more if you use it daily. For a more targeted solution, the BEAUTYBLENDER Liquid BLENDERCLEANSER is excellent for cleaning makeup sponges and brushes alike. This vegan and cruelty-free cleanser will help keep your tools in top shape.
Quick Tips:
– Always dry your sponge completely before storing. A great way to ensure it dries properly is to use a makeup sponge drying rack, which allows air circulation and helps maintain its form.
– Avoid soaking it for extended periods; a quick wash is all you need.
– Consider using a sponge cleanser for extra care to extend the life of your sponge.
By following these tips and using the right products, you can maintain a clean and effective makeup sponge for flawless application.


Conclusion

Achieving an airbrushed finish with a makeup sponge is truly an art form that anyone can master with practice.
By incorporating these tips into your routine, you’re sure to create that flawless complexion that lasts all day.
So go ahead and give these techniques a shot – your skin will thank you!
Note: We aim to provide accurate product links, but some may occasionally expire or become unavailable. If this happens, please search directly on Amazon for the product or a suitable alternative.
This post contains Amazon affiliate links, meaning I may earn a small commission if you purchase through my links, at no extra cost to you.
Frequently Asked Questions
What Type of Makeup Sponge Should I Use for an Airbrushed Finish?
Choosing the right sponge is crucial for achieving that coveted airbrushed finish. Look for a sponge that is soft and bouncy, ideally made from high-quality materials. Popular options include the classic teardrop shape or a flat-edged sponge for more precision. Remember, the right sponge can make all the difference in your makeup application techniques!
How Should I Prepare My Skin Before Using a Makeup Sponge?
Preparing your skin is the secret to a flawless complexion! Start with a thorough cleanse, followed by exfoliation to remove dead skin cells. Don’t forget to moisturize—this helps the sponge glide over your skin smoothly. A well-prepped canvas ensures your makeup sponge works its magic for an airbrushed finish.
Can I Use a Makeup Sponge for Applying All Types of Makeup?
Absolutely! A makeup sponge is versatile and can be used for various products, including foundation, concealer, and cream blushes. Just remember to dampen the sponge before application, especially with foundations for oily skin. This technique helps with blending and ensures a seamless, airbrushed look.
How Do I Clean My Makeup Sponge Properly?
Keeping your makeup sponge clean is essential for both your skin health and the sponge’s longevity. Rinse it under warm water, then use a gentle soap or a dedicated sponge cleanser to lather it up. Squeeze and rinse until the water runs clear. Regular cleaning prevents bacteria build-up and ensures your makeup application remains flawless.
What Setting Products Should I Use After Applying Makeup with a Sponge?
To lock in that airbrushed finish, using a setting powder or spray is key. For oily skin, opt for a translucent setting powder to absorb excess oil and prevent shine. Finish with a light mist of setting spray to ensure your makeup stays put throughout the day. This combination will help you maintain that flawless complexion without any unwanted shine!